Fall Baking With Kids: Age-by-Age Recipes and Task Chart
Discover how to make fall baking with your kids successful and tear-free with age-appropriate tasks for five specific recipes, including a handy task chart.
- Assign age-appropriate tasks for successful fall baking with kids.
- Access age-specific job charts for five fall baking recipes (ages 1-8).
- Utilize safety tips and storage times for your fall baked goods.
- Prevent meltdowns by giving each child one job that fits their hands.
This post contains affiliate links. As an Amazon Associate I earn from qualifying purchases.
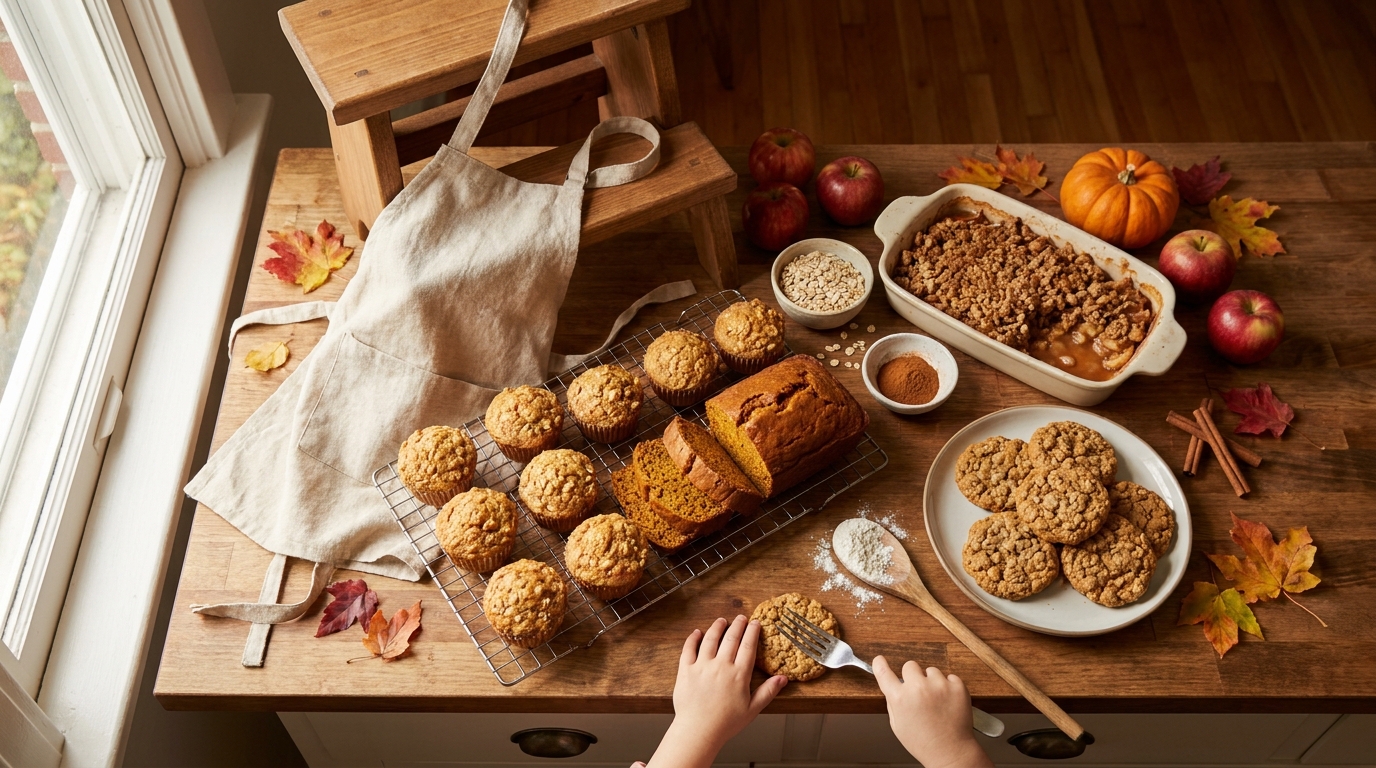
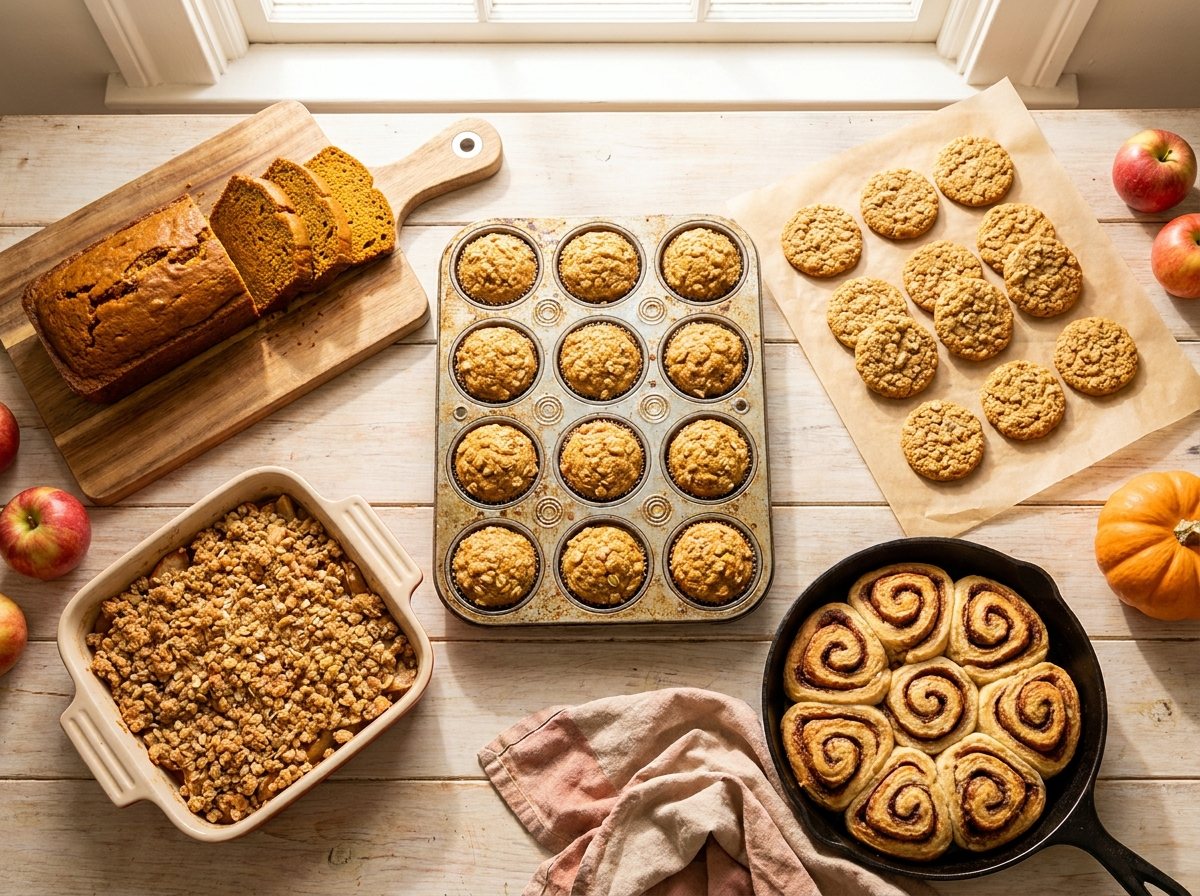
This post gives you five fall bakes with a specific job for ages 1-3, 4-6 and 7-8, plus a task chart, safety rules for little ones, and storage times. Everyone gets a real job, and the oven stays an adult zone.
In this article (17 sections)
- How to Give Each Age a Real Baking Job
- The Three Age Bands Used in This Post
- Fall Baking Task Chart by Age
- Before You Start: A Few Setup Moves That Save the Afternoon
- Safety Rules for Baking With Little Kids
- Bake 1: Applesauce Oat Muffins (The Easiest Starting Point)
- Bake 2: Pumpkin Bread (Loaf or Muffins)
- Bake 3: Apple Crisp (The Best “Everybody Helps” Recipe)
- Bake 4: Maple Oat Cookies (For Practice With Scooping and Rolling)
- Bake 5: Cinnamon Swirl Biscuits (The Most Impressive Result)
- Planning a Baking Afternoon That Actually Fits Your Family
- Handling the Moment a Kid Loses Interest
- Swaps for Allergies and Dietary Needs
- Storing, Freezing, and Reheating
- Making It a Tradition (Without Making It a Chore)
- Frequently Asked Questions
- Start With One Bake This Weekend
How to Give Each Age a Real Baking Job
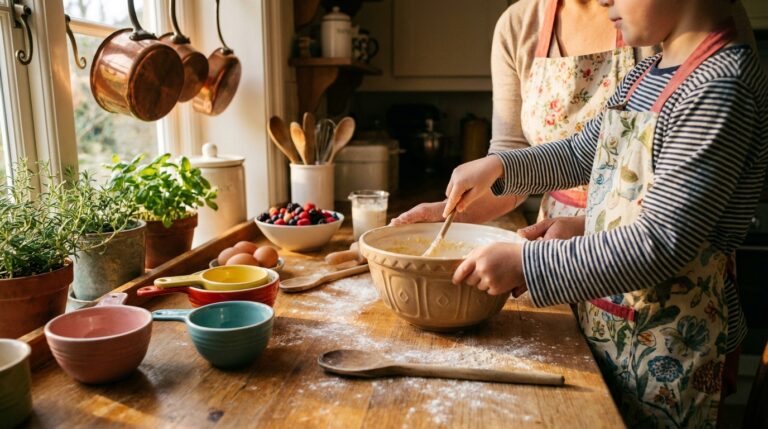
Last October I made pumpkin bread with my two kids, then four and almost two. Within four minutes the toddler was wearing the flour and the four-year-old was in tears. The recipe wasn’t wrong. It just treated “kids” as one group, when a 22-month-old and a 4-year-old are barely in the same sport.
So the next weekend I gave each kid one job sized to their hands and attention span. The toddler dumped flour and mashed pumpkin, the four-year-old measured and stirred, and nobody cried.
Most “fall baking recipes with kids” roundups are just recipe lists with a cute photo of a child in an apron. They skip the part that decides whether the afternoon goes well: who does which step.
A few things I’ve learned the hard way:
- A task only works if the child can finish it. A 2-year-old can dump a pre-measured cup of flour. A 2-year-old cannot level a ½ teaspoon of baking soda. Asking for it ends in frustration for both of you.
- Every child needs a job that matters. Kids can tell when they’re being handed a pretend task. Stirring the real batter beats “stirring” an empty bowl.
- Sequence matters more than speed. The toddler’s job should come early, while their attention is fresh. Save the long, fiddly steps for the older kids.
- The oven is always adult territory. Even for 7- and 8-year-olds, I handle the oven door, hot pans, and anything that comes out. Kids can watch through the oven window, set the timer, and fetch the cooling rack.
If you want the bigger picture of what kids can handle in the kitchen at each stage, our age-by-age guide to teaching kids to cook covers skills beyond baking. This post is the fall-baking-specific version.
The Three Age Bands Used in This Post
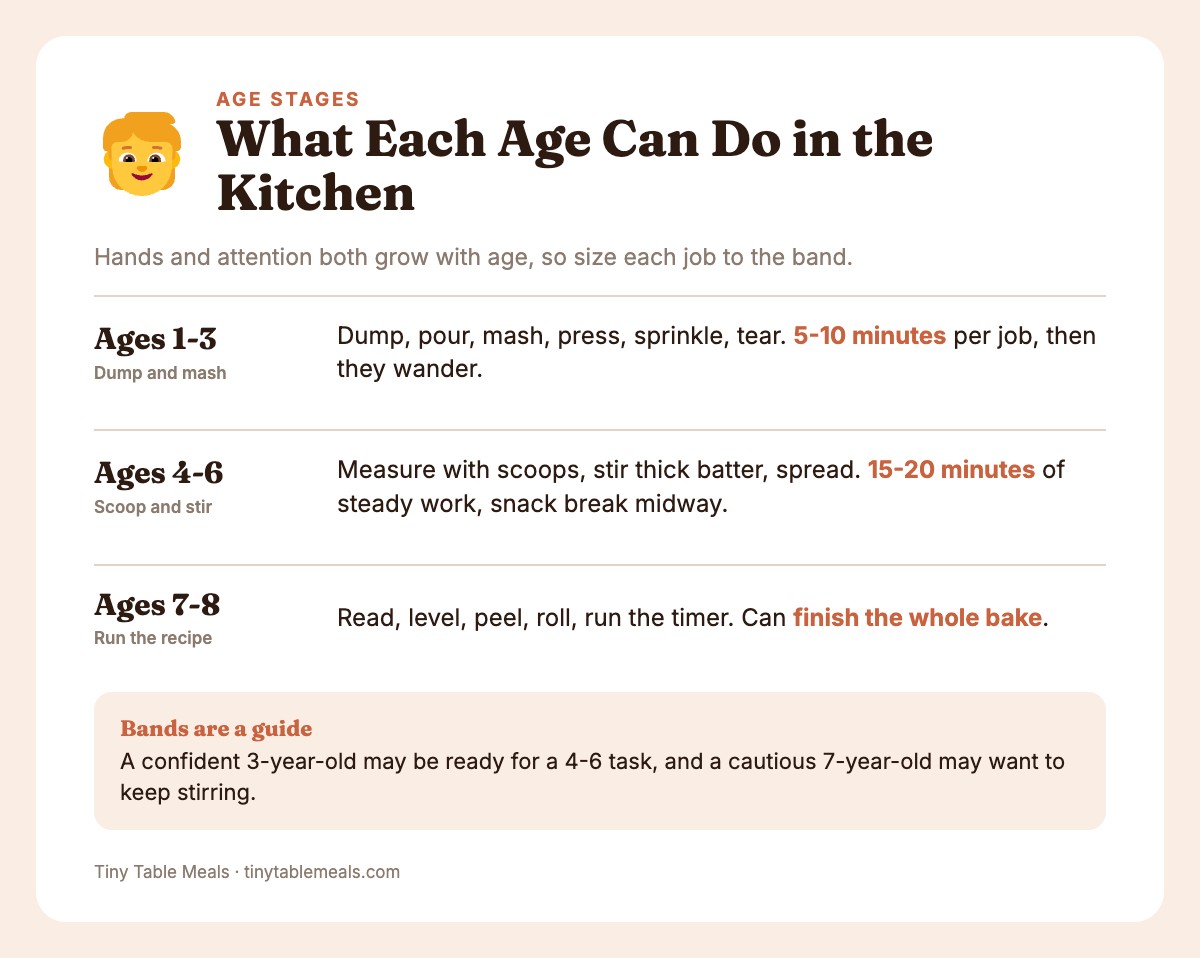
| Age band | What their hands can do | What their attention can do |
|---|---|---|
| 1-3 | Dump, pour from a small cup, mash, press, sprinkle, tear, stir with help | 5-10 minutes per job, then they wander. Plan for it. |
| 4-6 | Measure with scoops, crack eggs (with practice), stir a thick batter, press dough, spread, use cookie cutters | 15-20 minutes of steady work, with a snack break in the middle |
| 7-8 | Read a recipe, level measurements, peel with a peeler, cut soft foods with a dull knife, roll dough, run the timer | Can follow a multi-step recipe and finish the whole bake |
Kids vary a lot inside those bands. A confident 3-year-old may be ready for a 4-6 task, and a cautious 7-year-old may want to stay with the stirring for a while. Toddlers from about 18 months can join in, but anyone 12-18 months needs constant hands-on help. Egg, wheat and dairy should already be familiar foods before you bake with them.
Treat the chart as a starting point, not a rule.
Fall Baking Task Chart by Age
Here’s the chart. Each cell is one main job. Everything else (oven, hot pans, sharp knives beyond a dull one) is adult work. The free Fall Baking With Kids Kit has a print-ready version if you’d rather stick it on the fridge.
| Fall bake | Ages 1-3 | Ages 4-6 | Ages 7-8 |
|---|---|---|---|
| Applesauce Oat Muffins | Dump pre-measured oats into the bowl; stir dry ingredients; spoon batter into liners with help | Measure applesauce and milk; crack the egg into a small bowl first; stir wet and dry together | Read and run the recipe; level flour and baking powder; fill the muffin tin evenly with a scoop |
| Pumpkin Bread | Mash pumpkin with a fork; dump in the spices; sprinkle oats on top | Scoop and level flour; whisk wet ingredients; stir until just combined | Measure everything; crack eggs; grease the pan; test doneness with a toothpick once the adult has set the loaf on a heatproof surface |
| Apple Crisp | Wash apples; drop adult-sliced apples into the dish; sprinkle cinnamon (spoon held away from the face); crumble topping | Toss sliced apples with cinnamon; mix the oat topping; press and crumble it over the fruit | Peel apples with a peeler; cut cooled, softened apple wedges with a dull knife; build the whole topping |
| Maple Oat Cookies | Press plain, fruit-free dough balls flat with a palm (adult watching, hands out of mouth); sprinkle oats | Scoop dough with a cookie scoop; roll balls; press with a fork; stir dried fruit into the older kids’ share of the dough only (after plain dough is set aside) | Cream butter and sugar (softened butter); scoop and space the cookies; watch the timer; after 5 minutes, move cookies to the rack with a spatula (adult removes the hot sheet) |
| Cinnamon Swirl Biscuits | Pat dough with flat hands; sprinkle cinnamon-sugar | Rub cold butter into flour with fingertips; spread the cinnamon filling with a blunt butter knife (supervised); roll up the dough with help | Pat out and roll the dough; slice rounds with a dull knife (or floss, adult-supervised); arrange in the pan |
And the same information in checklist form:
Ages 1-3 checklist
- Dump pre-measured dry ingredients
- Mash soft food with a fork (pumpkin, banana, cooked apple)
- Sprinkle (oats, cinnamon sugar)
- Press and pat dough with flat hands
- Wash fruit in a bowl of water
- Stir with a grown-up hand over theirs
Ages 4-6 checklist
- Scoop and level with a measuring cup
- Crack an egg into a separate small bowl, fish out shells
- Stir a thick batter until just combined
- Use a cookie scoop and roll balls
- Spread filling with a blunt butter knife (supervised) or the back of a spoon
- Press cookies with a fork
Ages 7-8 checklist
- Read the recipe aloud and gather the ingredients
- Peel apples with a peeler
- Cut soft foods with a dull knife
- Cream softened butter and sugar
- Roll dough to a rough thickness
- Set the timer and check doneness through the oven window
Keep this chart open while you read the recipes below. Each bake has its own section with ingredients, a step-by-step method showing who does what, and a few notes from my own kitchen.
Before You Start: A Few Setup Moves That Save the Afternoon
These take about ten minutes, and they’re the difference between a fun baking day and a kitchen meltdown.
Pre-measure for the little ones
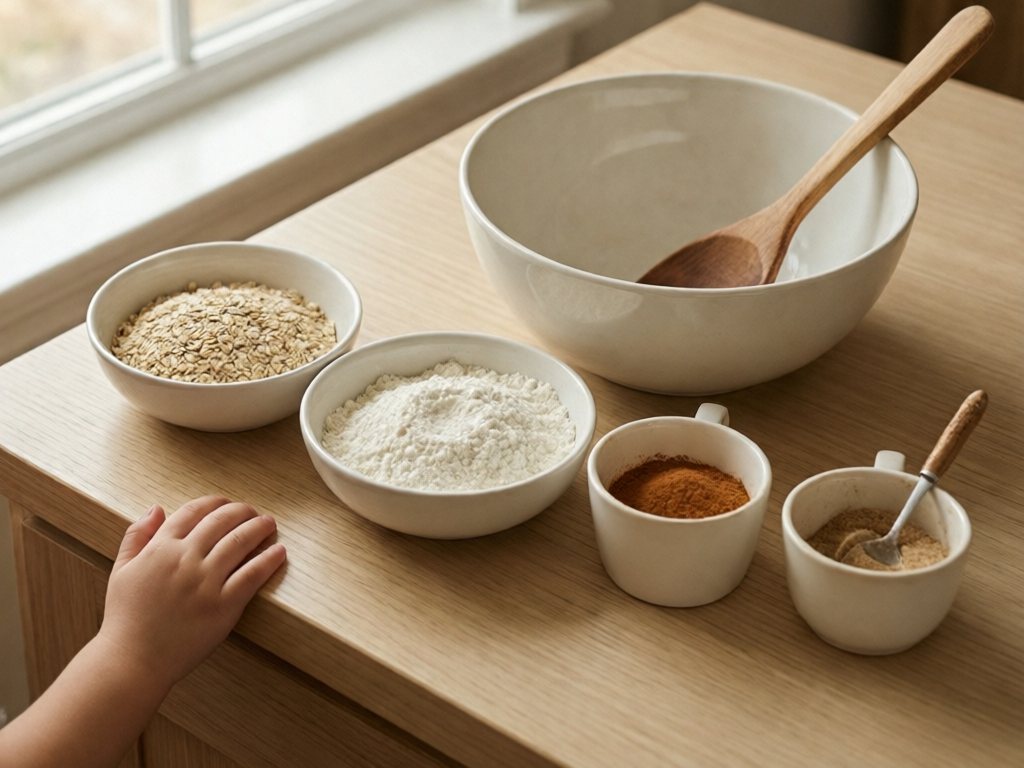
For ages 1-3, measure the ingredients ahead of time into small bowls or cups. A toddler’s whole job is “dump the cup into the big bowl.” If you hand them the flour bag, you’ll have flour on the ceiling. If you hand them a half-cup scoop of flour in a small bowl, it goes in the mixing bowl and they feel like a pro.
Give everyone a station
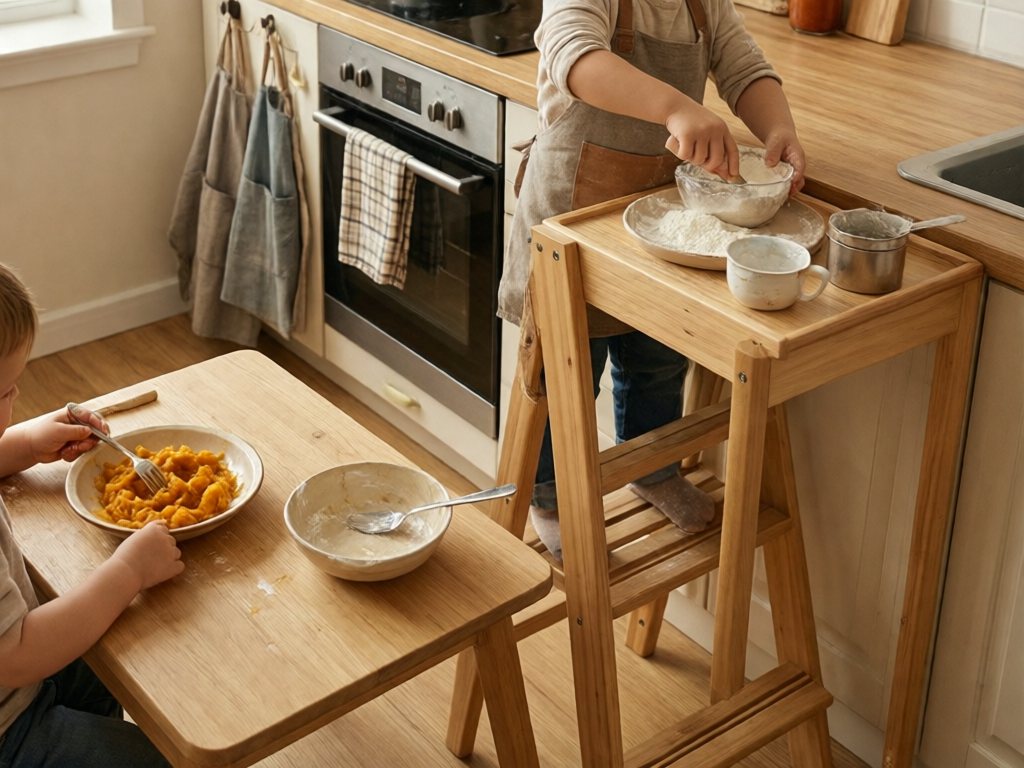
A stable learning tower with rails, set well away from the stove and oven, is the safest way to bring a toddler up to the counter. Skip step stools for under-2s. Keep toddlers in sight and within arm’s reach the whole time.
For two kids at different levels, I set the toddler up at a low table with their own bowl and a “practice” job (mashing, pressing), while the older kid works at the counter with me. That keeps the little one from grabbing at the older one’s measuring.
Wash hands, then put on the apron
I make this the opening ritual: wash hands, tie aprons, roll sleeves. Many kids settle in more easily with a predictable start.
Safety Rules for Baking With Little Kids
Safety firstRaw eggs (salmonella) and raw flour (E. coli) can both make people sick, so no tasting batter or dough. Keep dough and sticky hands out of mouths, toddlers included, with an adult watching. Wash hands and surfaces after handling eggs, flour or dough.
Under-4 rules:
- No nuts or whole seeds (including whole pepitas)
- No raisins or dried cranberries in their jobs or portions
- No raw apple slices; offer applesauce or fork-soft cooked apple
- Cinnamon is sprinkled from a spoon held away from the face, never sniffed
- Toddlers stay in sight and well away from the oven area
- Oven and hot pans: adults only, always. Keep kids a full step back when the door opens.
- Choking hazards: follow the under-4 rules above. Baked apple in crisp should be fork-soft before a toddler eats it.
- Honey and sugar: none of these recipes use honey, and honey stays out of anything for babies under 12 months. Maple syrup is a fine swap where a recipe calls for a liquid sweetener. All five bakes contain added sugar and salt, and added sugar is best avoided before age 2. For 12-24 month olds, these are an occasional treat, not a daily food. Offer a small portion, or use the lower-sugar swaps near the end.
- Allergies: for a diagnosed food allergy, follow your allergist’s plan, read every label every time, and avoid cross-contact from shared bowls and tools. The swaps section near the end is a starting point only.
The “two-part” plan for a short attention span
Split the work by stage. Let the toddler dump and mash first, while their attention is fresh, then mix and get the pan in the oven right away. Don’t let batter with raw egg sit out. If you need a break, pre-measure the wet and dry ingredients separately and combine them just before baking.
While the oven is on, everyone has a snack or quiet activity nearby and an adult stays home with the timer set.
Bake 1: Applesauce Oat Muffins (The Easiest Starting Point)
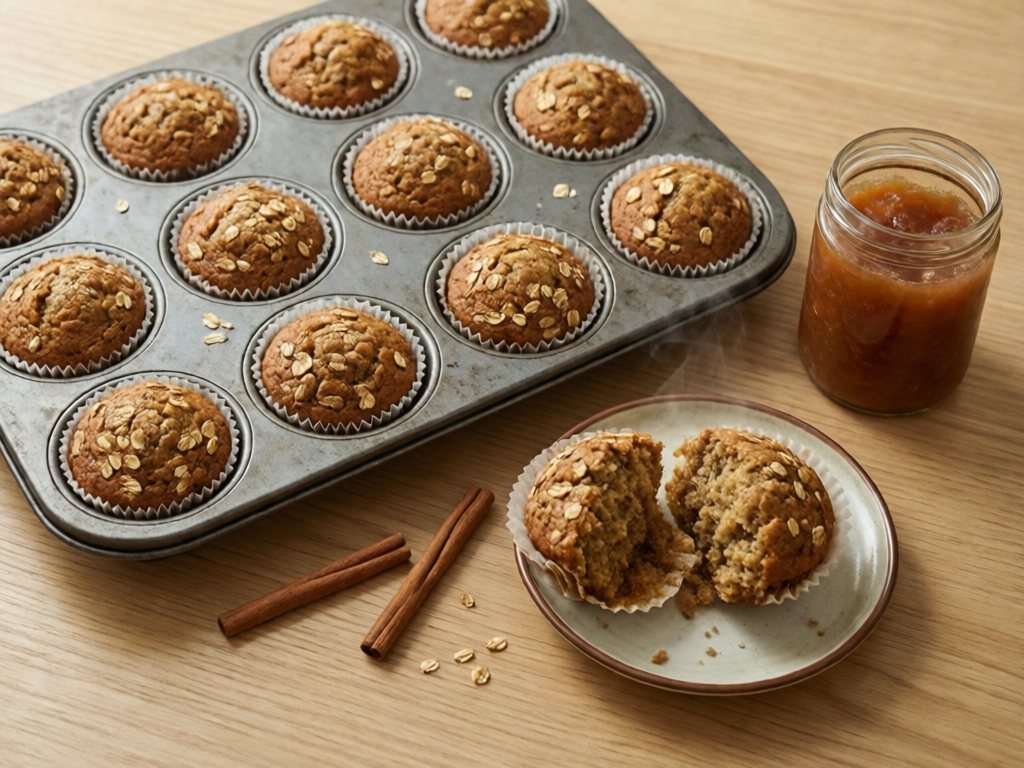
If you’ve never baked with your kids, start here. The batter is forgiving, there’s no creaming or rolling, and the muffins freeze beautifully. They’re also lightly sweetened, so they work as a breakfast, snack, or lunchbox add-on. (If you like make-ahead muffins, our freezer muffins for toddlers post has more batches to stock up on.)
Ingredients
- 1½ cups all-purpose flour
- 1 cup rolled oats
- 2 teaspoons baking powder
- ½ teaspoon baking soda
- 1 teaspoon cinnamon
- ¼ teaspoon salt
- 1 cup unsweetened applesauce
- ⅓ cup maple syrup
- ⅓ cup neutral oil (or melted butter)
- 1 egg
- ½ cup milk
Who does what
Ages 1-3: Dump the pre-measured oats into the large bowl. An adult adds the cinnamon, or they sprinkle a pinch from a spoon held away from the face (no sniffing the powder). Stir the dry ingredients with a big spoon while you hold the bowl steady. Later, help spoon batter into muffin liners, which is messy and completely fine.
Ages 4-6: Measure the applesauce, milk, and maple syrup into a liquid measuring cup. Crack the egg into a small separate bowl first, so any shell gets fished out before it reaches the batter.
Pour wet ingredients into dry and stir until just combined. Stop when you can’t see dry flour. A few lumps are right.
Ages 7-8: Run the show. Read the recipe, gather the ingredients, level the flour and baking powder with the back of a knife, and use a scoop to fill the tin evenly.
Set the timer and check the muffins through the oven window. A toothpick test is an adult-opens-the-oven job.
Method
- Heat the oven to 375°F and line a muffin tin with paper liners.
- In a large bowl, stir together the flour, oats, baking powder, baking soda, cinnamon, and salt.
- In a second bowl or large measuring cup, whisk the applesauce, maple syrup, oil, egg, and milk.
- Pour the wet mixture into the dry. Stir just until combined.
- Fill the liners about ¾ full.
- Bake 18-20 minutes, until a toothpick comes out clean.
- Cool in the tin for 5 minutes, then move to a rack.
Notes from my kitchen
The first time my 4-year-old stirred this, she over-mixed it and the muffins came out dense and a bit rubbery. We called them “chewy muffins” and everyone ate them anyway. If you want them lighter, tell your stirrer the magic phrase: “Stop when the flour disappears.”
Bake 2: Pumpkin Bread (Loaf or Muffins)
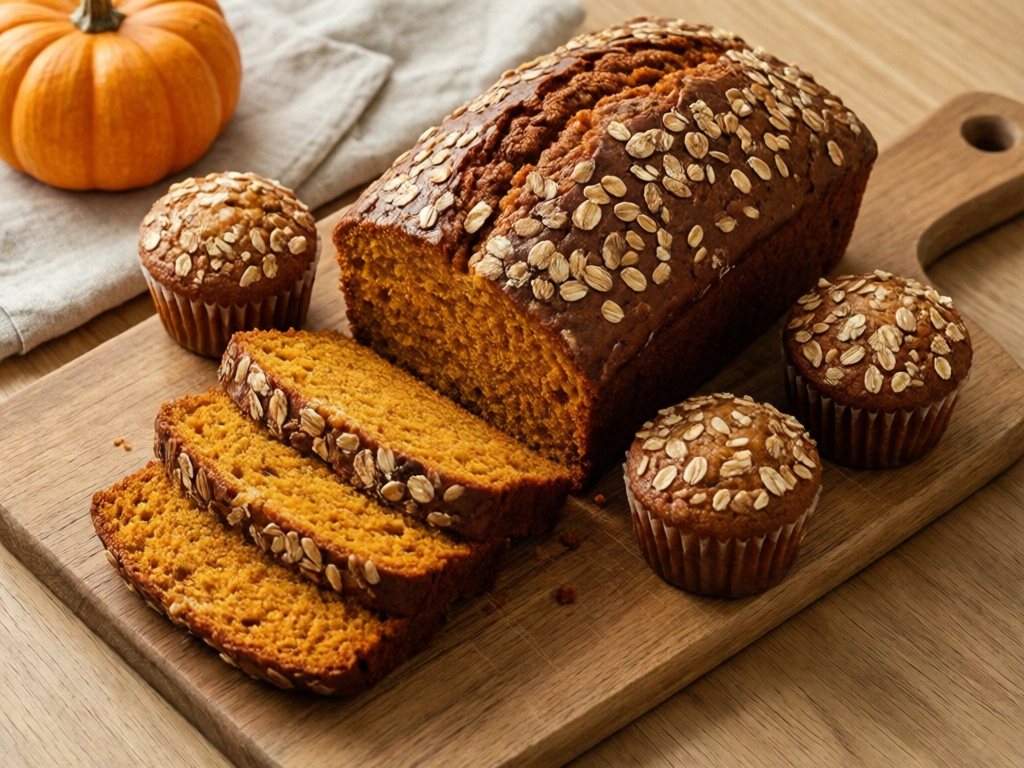
Pumpkin bread is the classic fall bake, and it’s also a great one for mixed ages because the batter is thick, easy to stir, and hard to ruin. For more ways to use canned or roasted pumpkin beyond pie, see our post on pumpkin recipes for kids that aren’t pumpkin pie.
Ingredients
- 1¾ cups all-purpose flour
- 1 teaspoon baking soda
- ½ teaspoon salt
- 2 teaspoons pumpkin pie spice
- 1 cup pumpkin puree (plain, not pie filling)
- ¾ cup brown sugar
- ½ cup neutral oil
- 2 eggs
- ¼ cup milk
- 2 tablespoons rolled oats for the top (pepitas optional, for kids 4 and up only)
Who does what
Ages 1-3: This is a mashing bake. Scoop the pumpkin into a bowl and let them “mash” it with a fork (it’s already smooth, so it’s mostly texture play). Dump in the pre-measured spice. At the end, sprinkle oats on top. Skip whole pepitas for under-4s (or grind them to fine meal).
Ages 4-6: Scoop and level the flour with a measuring cup. Whisk the pumpkin, sugar, oil, eggs, and milk in a bowl. Stir the wet into the dry until just combined. Let them scrape the bowl into the pan with a spatula.
Ages 7-8: Measure everything, crack the eggs, and grease the pan. Pour the batter into the loaf pan and smooth the top.
The adult pulls the loaf out and sets it on a heatproof surface. Then the child tests it with a toothpick while the adult keeps everyone back from the hot pan, or the adult tests.
Method
- Heat the oven to 350°F. Grease a 9×5 loaf pan or line a muffin tin.
- Whisk the flour, baking soda, salt, and spice in a large bowl.
- In another bowl, whisk the pumpkin, brown sugar, oil, eggs, and milk.
- Pour the wet into the dry and stir just until combined.
- Pour into the pan. Top with oats. If using pepitas, add them only to muffins or slices for kids 4 and up, never the whole batch.
- Bake until a toothpick comes out clean, about 55-60 minutes for a loaf or 20-22 for muffins.
- Cool in the pan for 10 minutes, then an adult turns the loaf out onto a rack.
Why muffins are better for small kids
Honestly, the muffin version wins for the 1-3 crowd. They bake faster (a big plus for patience), they’re toddler-sized, and you don’t have to slice them. If you want a loaf for gifting or the weekend, make it with your older kids and let the toddler help on a quick muffin batch instead.
Bake 3: Apple Crisp (The Best “Everybody Helps” Recipe)
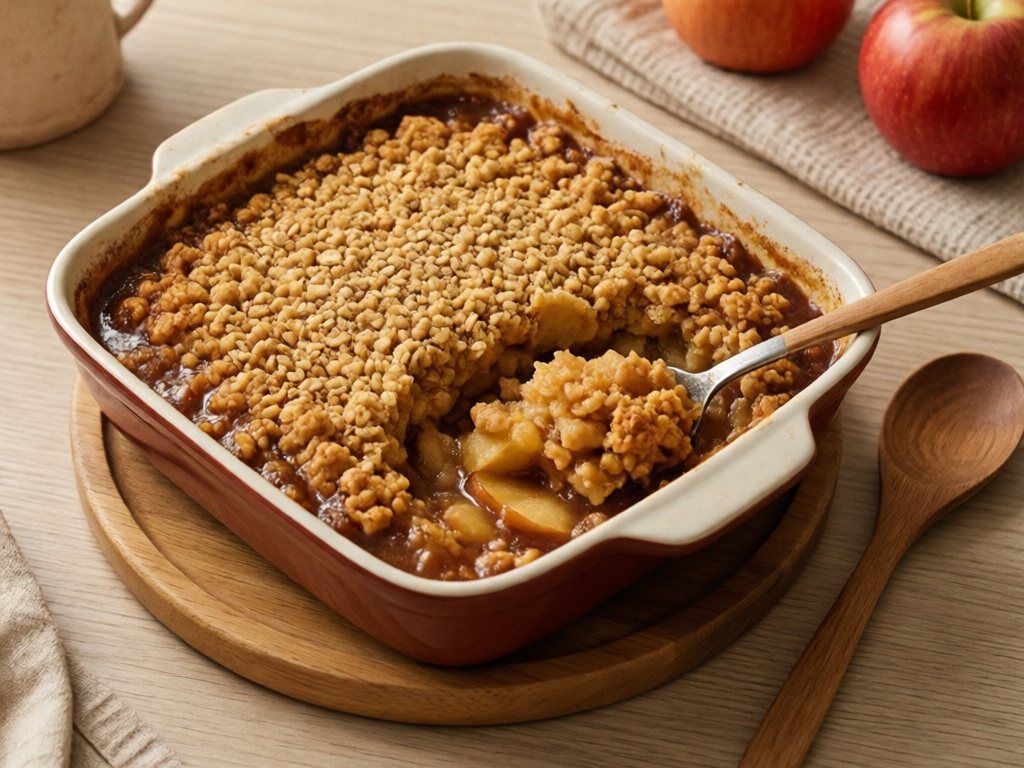
Apple crisp is my top pick when I have kids of several ages at the counter, because the work divides itself naturally: someone washes and peels, someone slices, someone makes the topping. It’s also forgiving. Odd-shaped apples and uneven topping still taste like fall. For more ways to use apples, our post on easy apple recipes for toddlers covers safe shapes for the littlest eaters.
Ingredients
Filling
- 6 medium apples (a mix of sweet and tart works well)
- 1 tablespoon lemon juice
- 2 tablespoons maple syrup
- 1 teaspoon cinnamon
- 1 tablespoon flour
Topping
- 1 cup rolled oats
- ½ cup all-purpose flour
- ⅓ cup brown sugar
- ½ teaspoon cinnamon
- ¼ teaspoon salt
- ½ cup (1 stick) butter, cold and cut into small cubes
Who does what
Ages 1-3: Wash the apples in a big bowl of water, which is a surprisingly good toddler job and keeps them busy for ten minutes. Once an adult has sliced the apples, they can drop slices into the baking dish, sprinkle cinnamon from a spoon held away from the face, and, at the end, crumble the topping over the fruit with their fingertips.
Ages 4-6: Toss the sliced apples with the lemon juice, maple syrup, cinnamon, and flour.
Then make the topping: combine the oats, flour, sugar, cinnamon, and salt, then rub in the butter with fingertips until the mixture clumps. This is peak sensory fun, and it’s very hard to get wrong.
Ages 7-8: Peel apples with a vegetable peeler (supervised, with a thumb-away-from-the-blade reminder).
Cut the adult-prepared apple wedges (see the tip below) into smaller pieces with a dull knife, on a stable cutting board with a damp towel underneath to stop it sliding. Then build the whole topping.
Method
- Heat the oven to 350°F.
- Peel (optional) and slice the apples about ¼ inch thick. Toss with the lemon juice, maple syrup, cinnamon, and flour. Spread in the baking dish.
- In a bowl, mix the oats, flour, brown sugar, cinnamon, and salt. Add the cold butter and rub with fingertips until crumbly.
- Scatter the topping over the apples.
- Bake 40-45 minutes, until the apples are bubbling and the top is golden.
- Cool 15 minutes before serving. The juices thicken as it sits.
A note on knives
A “dull knife” for a 7- or 8-year-old means a butter knife with a slightly serrated edge or a child’s nylon knife. Raw apples are firmer than they look, and a butter knife won’t cut them safely.
TipI cut the raw apples into thick wedges myself, or microwave them in a covered dish with a splash of water until softened. Let them cool fully and check them before handing over. The child then cuts only cooled, softened apple or the pre-cut wedges, with an adult within arm’s reach. Raw apple slices are not a snack for under-4s.
Bake 4: Maple Oat Cookies (For Practice With Scooping and Rolling)
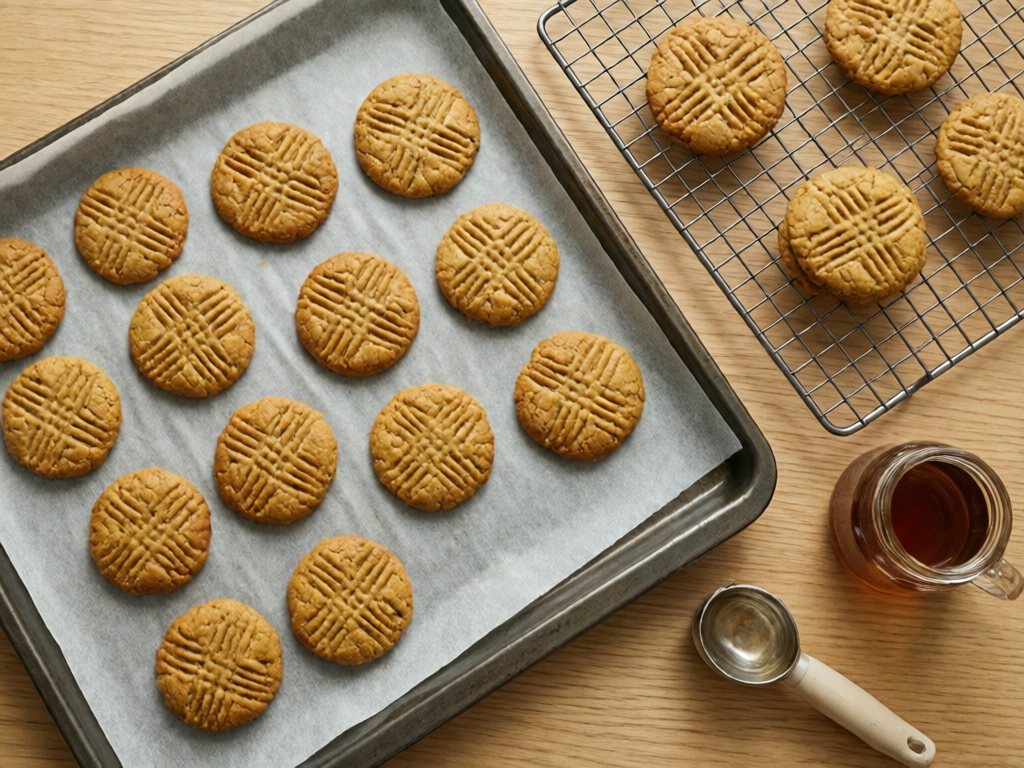
These soft, chewy cookies are a good “level-up” bake, because the dough is sturdy and the tasks are tactile. If your family goes big on cookies in December, our guide to holiday cookie baking with kids builds on the same skills with cutouts and decorating. Think of these as the warm-up.
Ingredients
- 1 cup all-purpose flour
- 1½ cups rolled oats
- ½ teaspoon baking soda
- ½ teaspoon cinnamon
- ¼ teaspoon salt
- ½ cup butter, softened
- ½ cup brown sugar
- ¼ cup maple syrup
- 1 egg
- 1 teaspoon vanilla
- ½ cup raisins or chopped dried cranberries (optional; for kids 4 and up only, stirred into part of the dough as shown in the method)
Who does what
Ages 1-3: Give them a scoop of the plain, fruit-free dough to roll into a “ball.” It won’t be one, and that’s fine. Then they press it flat on their own baking sheet with a palm.
Sprinkle a few oats on top and keep the dough out of their mouths. Their cookies stay plain, because dried fruit is for kids 4 and up. Wash hands right after, since the dough has raw egg.
Ages 4-6: Once the plain dough for the under-4s is set aside, stir the dried fruit into the rest. Then use a cookie scoop to portion it, roll the scoops into balls, and press each with a fork. This age loves a repetitive, satisfying job, and a whole tray of scoops is exactly that.
Ages 7-8: Cream the softened butter with the sugar and maple syrup (arm workout!), add the egg and vanilla, then fold in the dry ingredients.
Space the cookies on the sheet and set the timer. An adult takes the sheet out of the oven. After 5 minutes, the 7-8-year-old moves the cookies to the rack with a spatula.
Method
- Heat the oven to 350°F and line two baking sheets with parchment.
- Whisk the flour, oats, baking soda, cinnamon, and salt in a bowl.
- In another bowl, beat the butter, brown sugar, and maple syrup until creamy. Beat in the egg and vanilla.
- Stir in the dry ingredients. If anyone under 4 is eating, scoop their cookies from this plain dough first and bake them on a separate sheet. Then stir the dried fruit into the rest.
- Scoop tablespoon-size balls onto the sheets, 2 inches apart. Flatten slightly.
- Bake 10-12 minutes, until the edges are set and the centers look just done.
- Cool on the sheet 5 minutes, then move to a rack.
The softened-butter trick
TipCold butter fights small hands. Set it on the counter an hour ahead, or microwave it in 5-second bursts until it’s soft but not melted. Soft butter is the difference between a 7-year-old happily creaming and a 7-year-old giving up.
Bake 5: Cinnamon Swirl Biscuits (The Most Impressive Result)
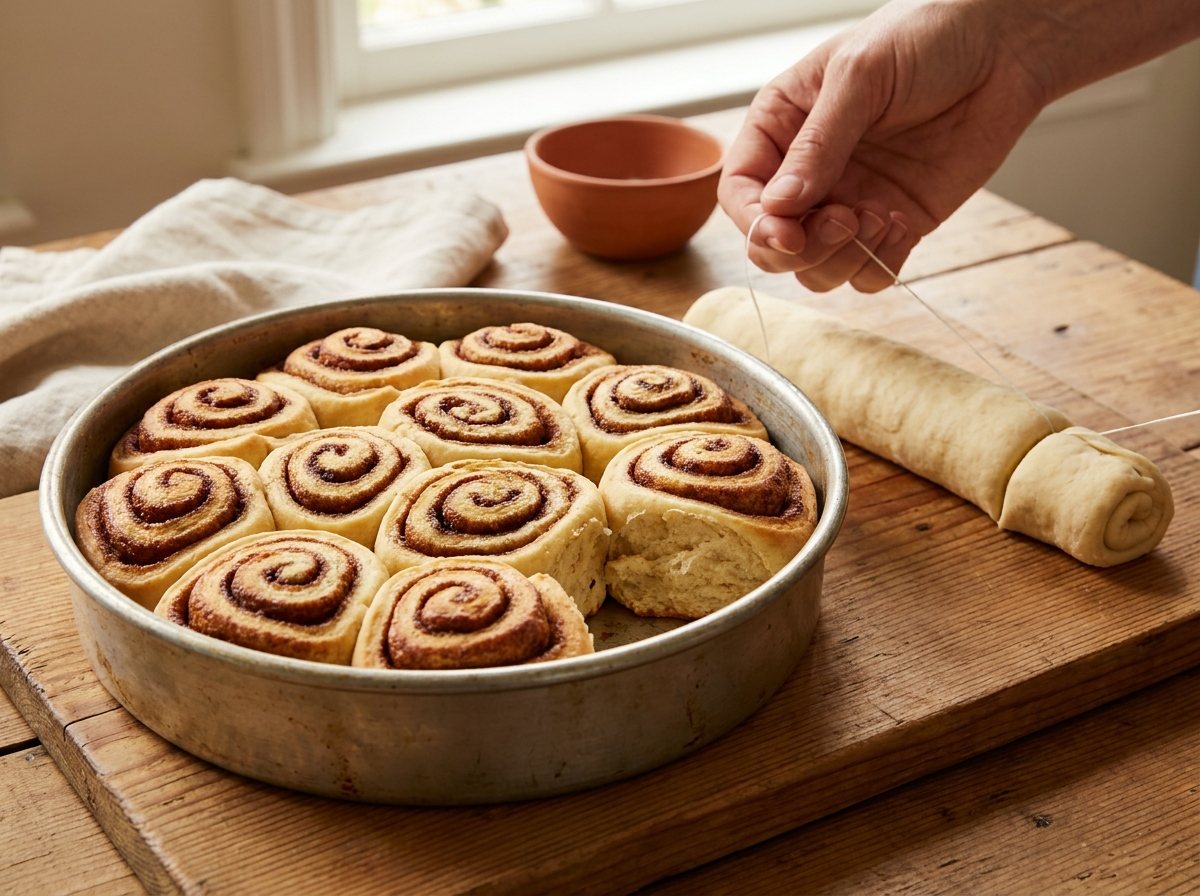
These look like you did something fancy, and they’re the one bake in this post that feels like “real baking” to older kids. The dough is a basic biscuit dough, rolled with a cinnamon-sugar filling and sliced into spirals.
Ingredients
Dough
- 2 cups all-purpose flour
- 1 tablespoon baking powder
- 1 tablespoon sugar
- ½ teaspoon salt
- 5 tablespoons cold butter, cubed
- ¾ cup milk
Cinnamon filling
- 2 tablespoons soft butter
- 2 tablespoons brown sugar
- 1 teaspoon cinnamon
Who does what
Ages 1-3: Pat the dough with flat hands after you’ve turned it out on the counter, and sprinkle cinnamon sugar. They will get it everywhere. That’s the job. Wash hands right after.
Ages 4-6: Rub the cold butter into the flour with fingertips (an adult handles any pastry blender), then spread the cinnamon filling over the rolled dough with a butter knife or the back of a spoon. Help roll the dough into a log.
Ages 7-8: Pat out the dough into a rough rectangle, spread the filling, roll it up, and slice into rounds.
A dull knife can squish the spirals, so an adult can use unflavored, unwaxed dental floss: slide a length under the log, cross the ends over the top, and pull. If a 7-8-year-old does it, supervise closely and tell them to hold the ends and never wrap floss around their fingers. The dull knife still works fine.
Method
- Heat the oven to 425°F. Grease a round cake pan or line a baking sheet.
- Whisk the flour, baking powder, sugar, and salt. Cut in the cold butter until the mixture looks like coarse crumbs.
- Add the milk and stir until a soft dough forms.
- Turn the dough onto a floured counter. Pat into a rectangle about 8×12 inches.
- Spread the soft butter over the dough, then sprinkle with brown sugar and cinnamon.
- Roll up from the long side. Slice into 8-10 rounds.
- Place cut-side up in the pan, touching. Bake 13-15 minutes, until golden.
Handling sticky dough
TipIf the dough sticks to little hands, dust their palms with flour, not the dough. And don’t overwork it. Biscuit dough gets tough when it’s handled too much, so let the youngest do a quick pat, then hand off to a bigger kid.
Planning a Baking Afternoon That Actually Fits Your Family
You don’t need to make all five bakes in one go. (Please don’t.) Here are three realistic ways to plan fall baking with kids.
The one-bake Saturday
Pick one recipe, run it start to finish with the right jobs for each kid, and enjoy. This is my default. Applesauce oat muffins or pumpkin bread both work well for a first attempt.
The two-bake combo
Pair a quick bake (muffins) with a long, hands-off bake (apple crisp). Bake the muffins first. While they’re in the oven, the kids wash apples and rub together the crisp topping. When the muffins come out, lower the oven to 350°F and put the crisp in.
If you’d rather start with the crisp, let the kids pre-measure the muffin dry ingredients and set out liners while it bakes. Mix the batter and fill the liners only once the oven is back up to 375°F, so the muffins go straight in. Batter with raw egg shouldn’t sit out, and it loses its lift as it waits.
The weekly fall rotation
If you want a rhythm, rotate through them across five weekends:
| Week | Bake | Best for |
|---|---|---|
| 1 | Applesauce Oat Muffins | First-time bakers, mixed ages |
| 2 | Pumpkin Bread or Muffins | Gifting, snack boxes |
| 3 | Apple Crisp | Dessert after a family dinner |
| 4 | Maple Oat Cookies | Practicing scooping and rolling |
| 5 | Cinnamon Swirl Biscuits | A weekend brunch project |
How long it really takes
Plan on about 90 minutes to 2 hours for any of these bakes with kids, including cleanup. Muffins, cookies and biscuits land near 90 minutes. The pumpkin loaf and apple crisp need closer to 2 hours once you count baking and cooling. Without kids it would be roughly half that. That’s the honest tax for letting little hands do the work, and it’s worth it.
Handling the Moment a Kid Loses Interest
It will happen. Here’s what I do.
- Let them go. A toddler who wanders off after the dumping step has done their job. Don’t drag them back.
- Have a “backup job” ready. A bowl of flour and a spoon at a side table, or a lump of leftover dough to press and shape.
- Split the work. If the 7-year-old is bored of stirring, hand them the timer and the job of calling out when to check. The adult opens the oven and sets the pan on a heatproof surface before the child tests with a toothpick.
- Keep your standards flexible. The muffins can be lopsided and the cookies can be weird shapes. Nobody at the table is judging.
If a child melts down, it’s usually hunger or fatigue, not baking. Pause and have a snack. Fruit and cheese works well, and it keeps them from eating raw dough. Cut for the age: cheese in small thin pieces, grapes quartered, apple only cooked or for kids 4 and up.
Swaps for Allergies and Dietary Needs
Fall baking is pretty adaptable. Here are the common swaps I use. For a diagnosed allergy, check every label every time (oats and spices included), avoid cross-contact from shared bowls and tools, and follow your allergist’s plan. Egg replacers change the texture, and the muffins already contain applesauce.
| Need | Swap | Works best in |
|---|---|---|
| Egg-free | ¼ cup unsweetened applesauce or ¼ cup mashed banana per egg | Pumpkin bread, cookies (muffins already have applesauce and turn out denser) |
| Dairy-free | Plant milk 1:1; oil or dairy-free butter stick for butter | All five bakes |
| Nut-free | These recipes are naturally nut-free. Check oat and spice labels for cross-contact | All five bakes |
| Lower sugar | Cut the brown sugar slightly in the pumpkin bread and cookies; dried fruit adds only a little | Pumpkin bread, cookies |
| Gluten-free | 1:1 gluten-free baking blend and certified GF oats | Muffins, cookies, crisp |
For more egg-free ideas, we’ve got a full list of egg-free breakfast ideas for kids that pair well with a plate of homemade muffins.
If you’re baking for a classroom or a party, check the school’s allergy policy first, since many classrooms have strict rules.
Storing, Freezing, and Reheating
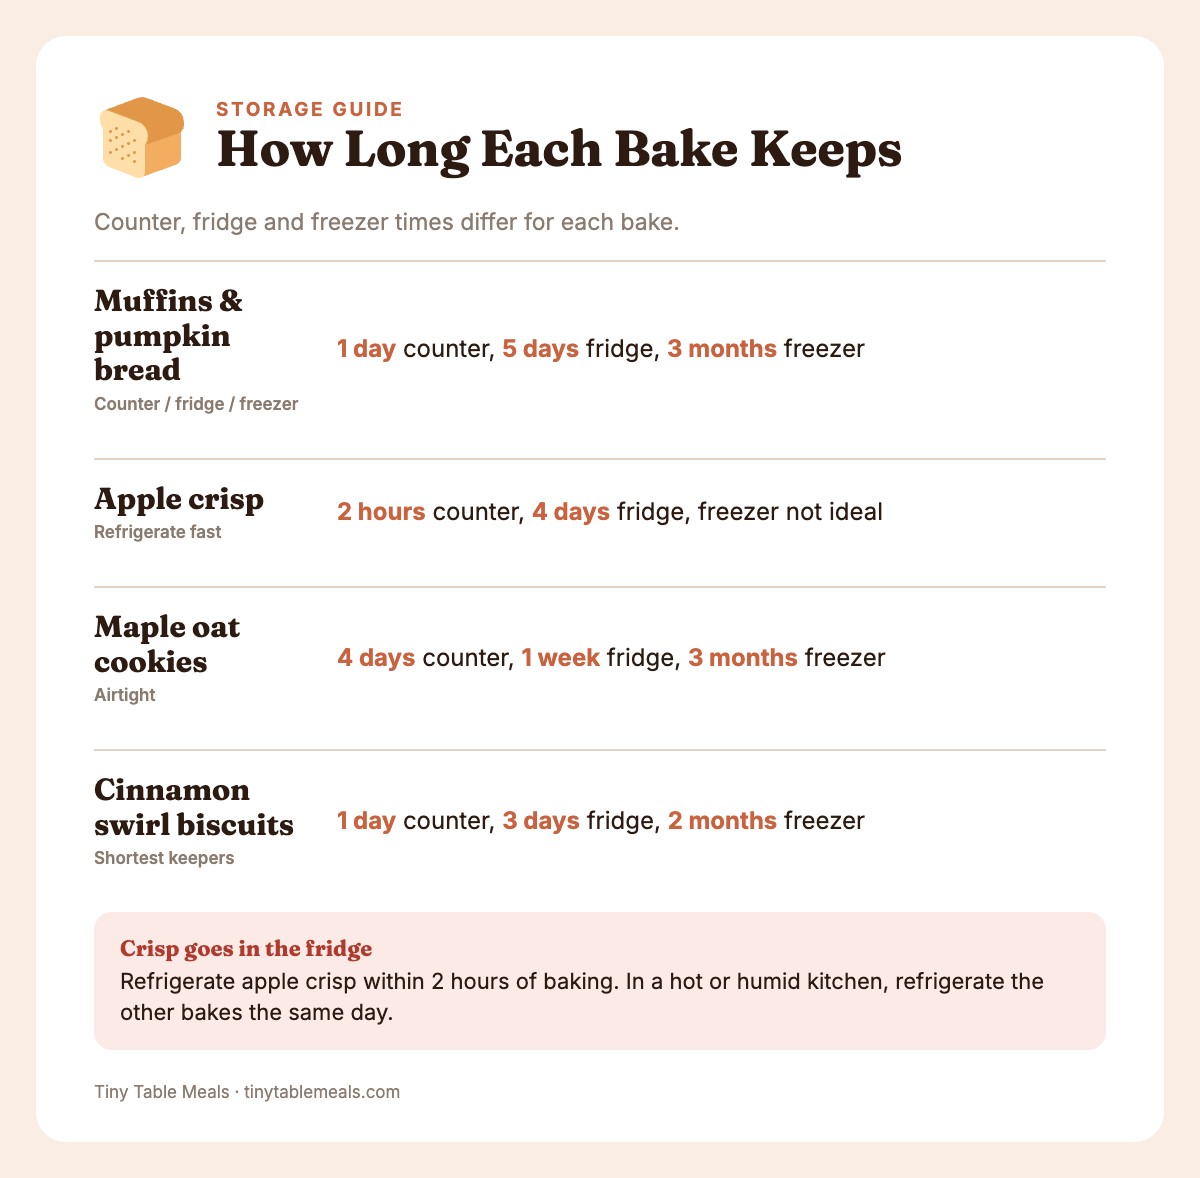
A good part of the payoff from baking with kids is having the food around afterward. Here’s how I handle leftovers, using conservative times.
Safety firstApple crisp has a moist cooked-fruit and butter filling, so refrigerate it within 2 hours of baking. The muffins, pumpkin bread, cookies and biscuits have their egg, milk and butter fully baked in, so they follow the counter times in the table below. In a hot or humid kitchen, refrigerate those the same day.
| Bake | Counter | Fridge | Freezer |
|---|---|---|---|
| Applesauce Oat Muffins | 1 day, covered (2 at most in a cool kitchen) | 5 days | 3 months |
| Pumpkin Bread / Muffins | 1 day, covered (2 at most in a cool kitchen) | 5 days | 3 months |
| Apple Crisp | Up to 2 hours; then refrigerate | 4 days | Not ideal; best fresh |
| Maple Oat Cookies | 4 days, airtight | 1 week | 3 months (baked or dough balls) |
| Cinnamon Swirl Biscuits | 1 day | 3 days | 2 months |
To reheat:
- Muffins and bread: 20-30 seconds in the microwave or 8 minutes in a 300°F oven.
- Apple crisp: oven at 325°F for 10-15 minutes.
- Biscuits: best warmed in the oven.
- Before serving: microwaves heat unevenly, so break muffins open to release steam, let reheated food cool, and check it isn’t hot in the middle.
Freezing tip: cool everything fully before wrapping. Wrap individually, then pop into a freezer bag. A toddler who gets a defrosted muffin out of the freezer feels like they’re getting a treat.
Making It a Tradition (Without Making It a Chore)
There’s something special about seasonal baking that kids remember. A few small ideas that don’t add work:
- Start a “fall baking” jar. Write the bakes on slips of paper and let kids draw one each weekend.
- Keep a family recipe folder. Tape in a printed or handwritten copy of the recipe, with a note: “Made when Maya was 5. She did the stirring.”
- Gift a mini loaf. Pumpkin bread in muffin form, wrapped in parchment, makes an easy gift for a neighbor or teacher.
- Pair it with a fall walk. Collect a few leaves before you start, or walk to the farm stand for apples. Take the walk before baking or after the oven is off, never during.
If you’re building a fall menu around your baking, our fall produce guide for families lists what’s in season and how to use it.
Frequently Asked Questions
What age can kids start baking?
Most kids can start helping around 18 months to 3 years (12-18 month olds need constant hands-on help), with simple tasks like dumping pre-measured ingredients, mashing soft foods, and patting dough. The key is matching the task to their abilities and keeping the session short. Real measuring and stirring a thick batter start around age 4, and reading and following a recipe independently usually comes around 7 or 8.
What are the best fall baking ideas with kids for toddlers?
Muffins and pumpkin bread are the easiest because the batter is forgiving and the jobs are simple: dump, mash, sprinkle, and stir. Apple crisp is another good one since toddlers can wash apples and crumble the topping with their fingertips. Avoid recipes that need precise measuring or rolling out dough, which tend to frustrate little hands.
Is it safe to let kids lick the spoon or taste the batter?
It’s best to skip it. Raw eggs can carry salmonella, and raw flour can carry E. coli, because flour is a raw agricultural product. Give kids a safe taste of something else while they wait, like a spoonful of applesauce or a few fork-soft pieces of cooked apple. Thin raw apple slices are for kids 4 and up, and wash hands after handling eggs and dough.
How do I keep the kitchen from turning into a disaster?
Pre-measure ingredients for little ones, put a rimmed baking sheet under the mixing bowl to catch spills, and keep a damp towel within reach. Put a non-slip or taped-down washable mat under a toddler’s work area, away from the oven, and accept that some mess is part of it. Cleaning up together at the end is a skill too.
Can I make these recipes with less sugar?
Yes. The muffins and crisp are already lightly sweetened. In the pumpkin bread, you can reduce the brown sugar by about a quarter without much change to the texture. In the cookies, cut the brown sugar slightly; the dried fruit adds only a little. Keep in mind that sugar affects browning and texture, so go gradually. For children under 2, added sugar is best avoided, so keep any portion small and occasional.
What if my kids have different skill levels and want the same job?
This happens constantly. Break the job into parts: one child cracks the egg, the other whisks it. One scoops the cookie dough, the other presses with a fork. Another trick is to rotate jobs by step, with each kid getting a turn at the favorite one (usually stirring). A timer helps, because it makes the turns feel fair.
What’s a dull knife, and is it really safe for a 7-year-old?
A dull knife is a butter knife, a serrated plastic or nylon kid’s knife, or a small table knife with a rounded tip. It can still cut soft foods like cooked apple, banana, or biscuit dough, but it won’t slice skin easily. It’s a good first knife for 6- to 8-year-olds, as long as they work on a stable cutting board with an adult nearby. Teach them to keep fingers curled and the knife pointed away from their body.
Start With One Bake This Weekend
You don’t need a perfect recipe, a spotless kitchen, or kids who stand still. You need one job per child that matches what they can do today, and a willingness to eat a lopsided muffin. Pick one bake from this list, copy the chart, and give everybody something real to do.