How to Pack a Lunch That Won’t Come Home Uneaten
Discover how to pack school lunches that get eaten by understanding kids' preferences and the challenges of lunchtime. You'll learn strategic food choices, smart preparation, and temperature control tips to keep meals appealing.
- Choose sturdy breads and wraps, and lightly toast bread to prevent sogginess.
- Layer ingredients strategically, using spreads as moisture barriers and patting wet items dry.
- Opt for proteins like grilled chicken, hard-boiled eggs, or meatballs over deli meat.
- Use ice packs at the bottom for sensitive items and preheat thermoses for hot food.
- Batch cook components like mini meatballs and hard-boiled eggs for easy assembly.
That familiar sinking feeling hits when you open your child’s lunchbox at the end of the day, only to find the carefully crafted sandwich untouched, the apple with one bite missing, and the crackers mysteriously scattered at the bottom. Sound familiar? You’re definitely not alone in this daily lunch-packing struggle.
After years of sending lunches that came home looking like they’d been through a tornado (or worse, completely ignored), I finally cracked the code. The secret isn’t just about making food that tastes good – it’s about understanding the unique ecosystem of school lunchtime and packing accordingly. Kids eat with their eyes first, they need foods that hold up well for hours without refrigeration, and they’re often distracted by friends and limited by short lunch periods.
The good news? Once you understand what makes a lunch successful from a kid’s perspective, you can transform those returned meals into empty containers. It’s all about strategic choices, smart preparation, and a few insider tricks that make all the difference.
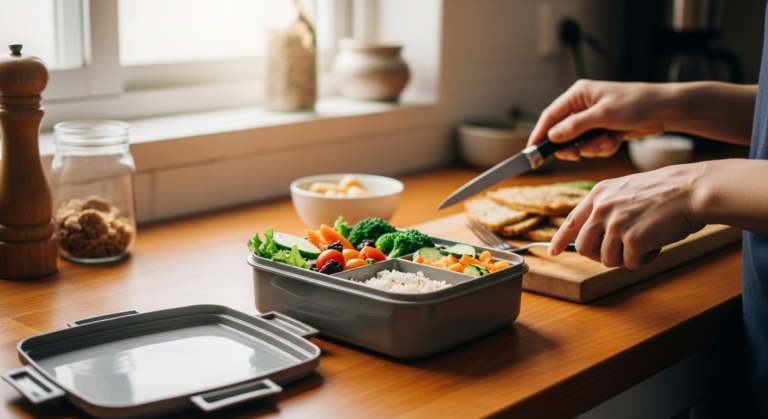
The Foundation: Foods That Actually Hold Up
The biggest lunch mistake I see parents make is packing foods that are delicious at 7 AM but turn into soggy messes by noon. Temperature changes, condensation, and hours of sitting in a backpack can transform even the most appealing sandwich into something unrecognizable.
Start with bread that can handle moisture. Sourdough, focaccia, and hearty whole grain breads work beautifully, while soft sandwich bread often becomes mushy. For wraps, choose flour tortillas over delicate spinach or tomato varieties that can crack and leak. I’ve found that lightly toasting bread – just enough to create a barrier – prevents sogginess without making it too crunchy for little mouths.
Layer strategically to protect ingredients. Spread butter, cream cheese, or hummus directly on the bread as a moisture barrier before adding wet ingredients like tomatoes or pickles. Place lettuce leaves between wet fillings and the bread, and always pat ingredients like sliced cucumbers or tomatoes dry with paper towels before assembling.
For proteins, think beyond deli meat. Leftover grilled chicken stays moist and flavorful, hard-boiled eggs don’t get slimy like scrambled versions might, and meatballs (yes, in sandwiches!) hold their texture remarkably well. Cheese should be firm varieties like cheddar or Swiss rather than soft cheeses that can make everything slippery.
Temperature Control and Food Safety Wins
Nothing kills lunch enthusiasm faster than warm yogurt or a sandwich that’s been sitting at room temperature too long. Proper temperature control isn’t just about safety – it’s about maintaining the textures and flavors that make food appealing.
Ice packs are your best friend, but placement matters. Put frozen water bottles or gel packs at the bottom of the lunch box, then place temperature-sensitive items like dairy, meat, and cut fruit directly on top. Room temperature items like crackers, pretzels, and whole fruits can go on top where they won’t freeze.
For hot foods that kids actually want to eat hot, invest in a quality thermos container. Preheat it by filling with boiling water for 2-3 minutes, then empty and immediately add your hot food. Pasta with butter and parmesan, leftover pizza cut into strips, or even warm meatballs with marinara sauce for dipping stay appealingly warm for hours this way.
Smart Make-Ahead Strategies
Sunday afternoon is perfect for preparing lunch components that improve with time. Cook a batch of mini meatballs seasoned with Italian herbs – they’re fantastic cold in wraps or heated in a thermos with marinara. Hard-boil a dozen eggs and store them in the shell; they’ll stay fresh all week and can be quickly peeled and sliced for sandwiches or eaten whole with a small container of salt.
Prepare individual portions of trail mix combining nuts, seeds, dried fruit, and a few chocolate chips in small containers. The flavors meld together, and having individual portions prevents the “eat all the good parts first” problem that happens with large containers.
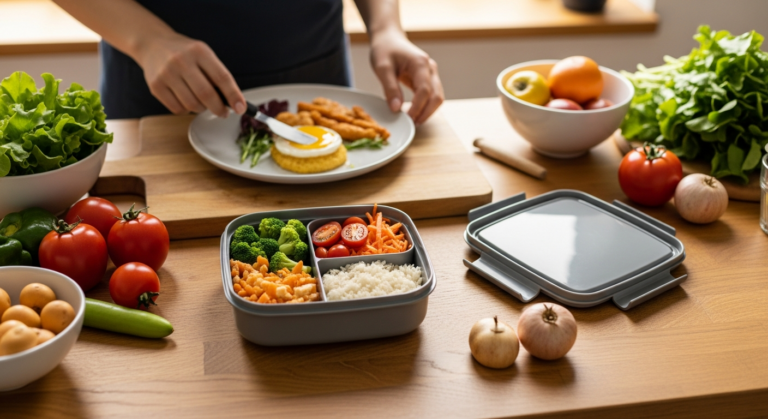
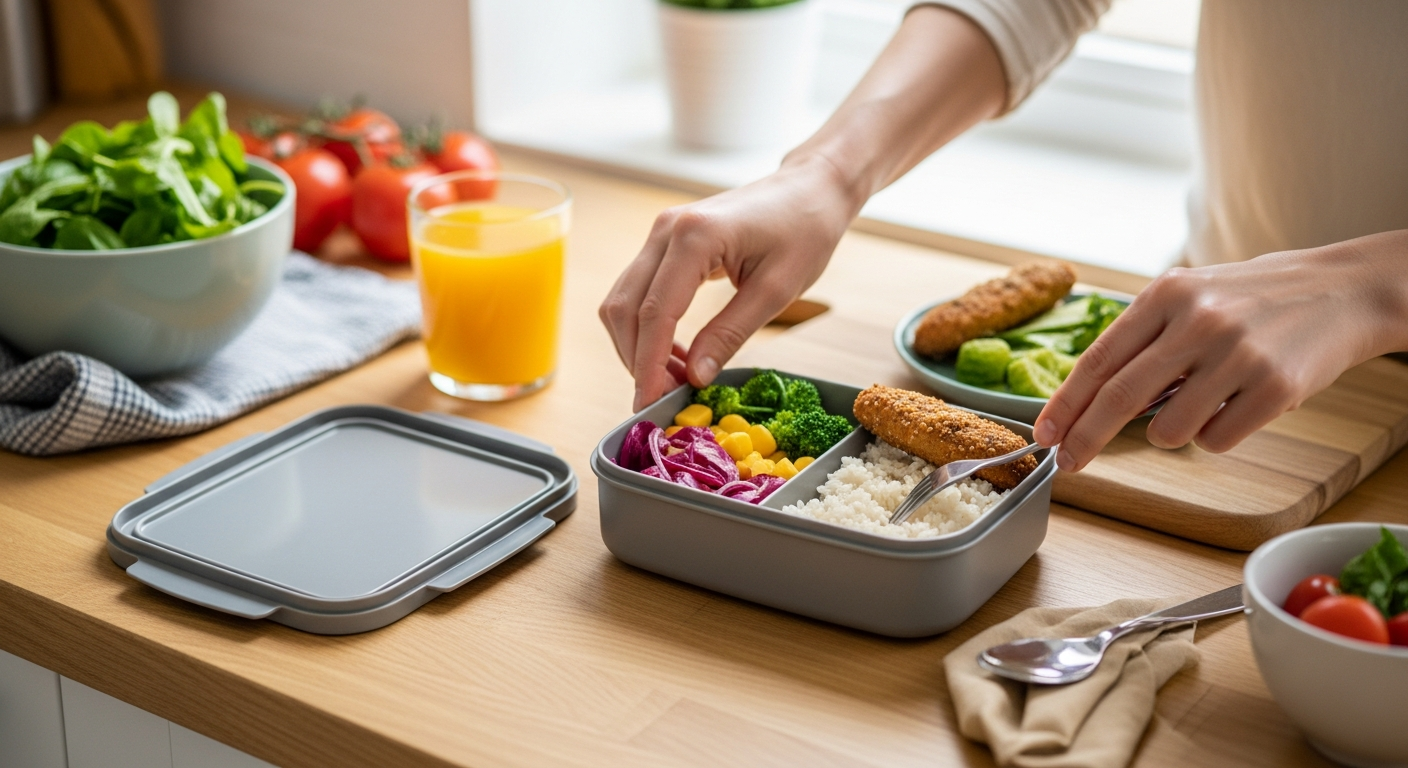
Visual Appeal That Actually Matters
Instagram-perfect bento boxes might get likes online, but practical visual appeal is what gets food eaten. Kids are drawn to variety in colors, shapes, and textures, but it doesn’t need to be complicated or time-consuming.
Use a muffin tin to create variety without fancy containers. Bake mini quiches in muffin cups using beaten eggs, shredded cheese, diced ham, and chopped vegetables. They’re perfectly portioned, easy to eat with hands, and can be made ahead and refrigerated for up to four days. Add color with cherry tomatoes, orange bell pepper strips, and purple grapes arranged around the quiche.
Transform ordinary foods with simple shape changes. Cut sandwiches diagonally instead of straight across – it’s more visually interesting and easier for small hands to manage. Use cookie cutters on cheese slices, or cut bell peppers into rings instead of strips. Roll deli meat and cheese together and secure with a pretzel stick for an instant “fancy” lunch component.
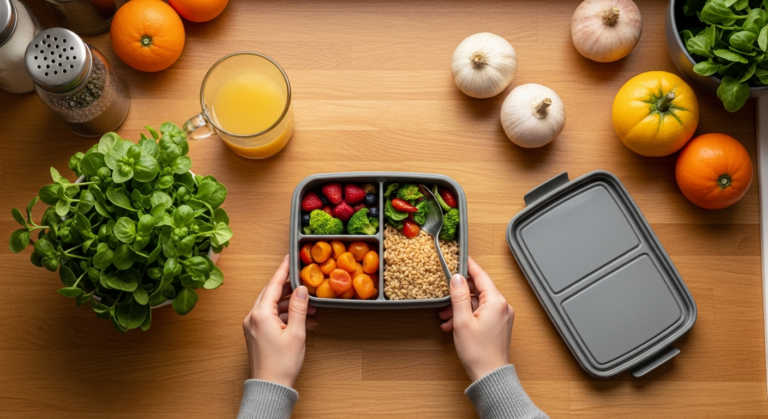
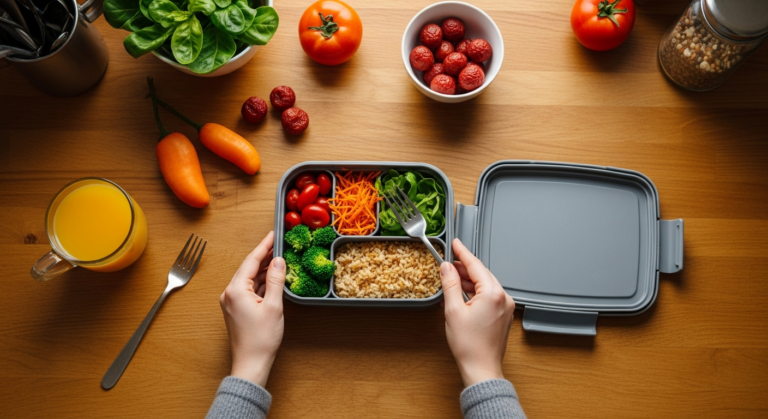
Layer foods in clear containers so kids can see everything at once. A clear container with hummus on the bottom, arranged with colorful vegetable sticks, looks much more appealing than separate containers where everything is hidden. The same goes for parfait-style containers with yogurt layered with granola and berries.
The Power of Dipping
Almost any food becomes more exciting with a dip. Pack ranch dressing with vegetable sticks, but also try it with leftover roasted chicken pieces. Hummus works with vegetables, but it’s also delicious with pita triangles, pretzel chips, or even as a sandwich spread.
Create a “nacho kit” with whole grain tortilla chips, a small container of black beans mixed with corn and diced tomatoes, and another small container with shredded cheese. Kids love assembling their own lunch, and the interactive element often means everything gets eaten.
Protein-Packed Options They’ll Actually Eat
Getting enough protein at lunch is crucial for sustained energy through the afternoon, but traditional deli sandwiches aren’t always appealing after sitting for hours. Branch out with proteins that maintain their appeal and provide lasting satisfaction.
Chicken salad gets a bad reputation, but made right, it’s a lunch box winner. Use leftover rotisserie chicken, mix with just enough mayonnaise to bind (not drench), add diced celery for crunch, and season with garlic powder and dried herbs. Serve it in a pita pocket with lettuce, or pack it separately with sturdy crackers for dipping.
Egg-based options go beyond hard-boiled. Make mini frittatas in muffin tins using six beaten eggs mixed with ½ cup milk, salt, pepper, and whatever vegetables and cheese you have on hand. Pour into greased muffin cups and bake at 350°F for 18-20 minutes until set. These are delicious at room temperature and pack easily.
Don’t overlook beans and legumes. A container of seasoned chickpeas (toss canned chickpeas with olive oil, cumin, and paprika, then roast at 400°F for 20 minutes until crispy) provides protein and satisfying crunch. Black bean and cheese quesadilla triangles, made ahead and served at room temperature, are surprisingly good and much more interesting than plain sandwiches.
Nut and Seed Alternatives
For nut-free schools, sunflower seed butter is your secret weapon. It has a similar protein content to peanut butter but with a milder, slightly sweet flavor that many kids prefer. Try it with sliced bananas and a drizzle of honey on whole grain bread, or use it as a dip for apple slices.
Pumpkin seeds (pepitas) roasted with a little salt provide protein and healthy fats while adding satisfying crunch to lunches. Mix them into homemade trail mix or sprinkle over salads and grain bowls.
Fruits and Vegetables That Don’t Turn Brown
Nothing says “unappetizing” like brown apple slices or wilted lettuce. Choose produce that maintains its appearance and appeal throughout the morning, and prep it in ways that preserve freshness.
For fruits, think beyond the usual suspects. Grapes, berries, and citrus segments hold up beautifully and don’t require cutting that exposes flesh to air. When you do pack apples or pears, slice them and toss with a tiny amount of lemon juice, then pack in an airtight container. Orange and red bell pepper strips stay crisp and colorful, while cucumber rounds keep their snap when stored properly.
Cherry tomatoes are lunch box gold – they’re sweet, pop in your mouth, and never get soggy like sliced tomatoes. Pair them with mozzarella balls and a few basil leaves for an easy caprese-inspired side.
For vegetables that need encouragement, presentation matters. Carrot sticks are more appealing than baby carrots to many kids because they look more like “real food.” Blanch broccoli florets for 2 minutes in boiling water, then immediately plunge into ice water to stop cooking. This keeps them bright green and gives them a tender-crisp texture that’s more appealing than raw but won’t get mushy.
Smart Storage Solutions
Invest in small containers with tight-fitting lids specifically for cut produce. Glass containers prevent transfer of plastic flavors and keep fruits and vegetables fresher longer. For items that release moisture, like berries, place a paper towel in the bottom of the container to absorb excess liquid.
Freeze grapes for a refreshing treat that helps keep other lunch items cool. By lunchtime, they’ll be perfectly chilled and sweet – like natural popsicles that won’t melt all over everything.
Building Complete, Satisfying Lunches
A successful lunch needs to provide sustained energy and satisfaction, which means including protein, healthy fats, complex carbohydrates, and produce. But it also needs to be practical for your child’s age, eating habits, and school environment.
Create “formula” lunches that you can vary throughout the week. For example: main component (sandwich, wrap, or thermos item) + protein-rich side (cheese, hard-boiled egg, or roasted chickpeas) + produce (fruit and vegetable) + satisfying crunch (crackers, pretzels, or nuts if allowed) + small treat (homemade cookie, piece of dark chocolate, or special fruit).
Consider your child’s eating patterns. Some kids eat everything at once, while others are grazers who need small portions of multiple items. Pack accordingly – one large sandwich for the former, several smaller components for the latter.
Make lunches that work for the cafeteria environment. Foods that can be eaten with hands are often more practical than items requiring utensils. Consider noise level too – crunchy foods might be embarrassing for self-conscious kids, while others love the satisfying crunch of fresh vegetables.
The most successful lunches are ones that make your child feel cared for and excited about eating. Sometimes that means the perfectly balanced meal you planned, and sometimes it means the day you included their favorite crackers and a note saying you’re proud of them. Both have their place in building positive associations with the lunch you’ve packed with love.
Mama Munch
Mama Munch is a food-obsessed parent of two who believes every family deserves simple, nutritious meals — even on the busiest weeknights. With a background in nutrition education and years of navigating picky eaters, allergies, and toddler taste buds, she creates practical recipes and meal strategies that actually work for real families.