After-School Snacks Kids Can Make Themselves: 20 Easy Recipes for Independence
Tired of being the snack dispenser? This guide helps you teach your kids to make their own nutritious after-school snacks, fostering independence and healthy habits with 20 easy, skill-level-appropriate recipes.
- Empower your kids to make their own snacks, building confidence and healthy habits.
- Create an accessible snack station with kid-safe tools and ingredients.
- Establish clear snack rules like hand washing, one snack, and cleaning up.
- Match snack recipes to your child's age and skill level for safety and success.
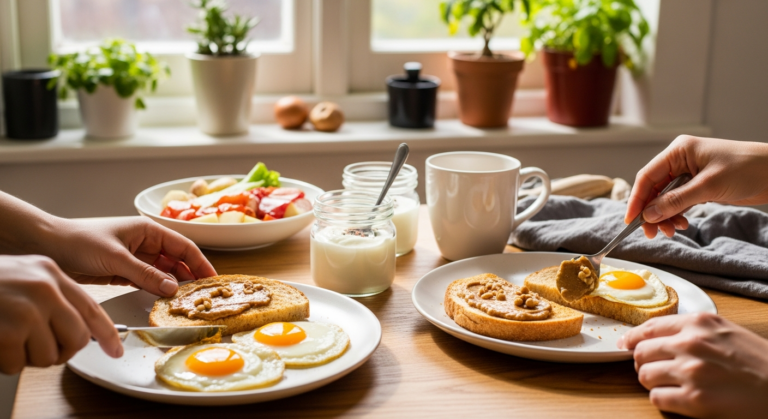
The door flies open. Backpack hits the floor. And before you can even ask about their day, the words you knew were coming: “I’M STARVING. What’s for snack?”
If you’re tired of being the on-demand snack dispenser every afternoon, here’s a revolutionary idea: teach your kids to make their own snacks. Not just grab-a-granola-bar snacks, but satisfying, nutritious options they can prepare independently (and actually feel proud of).
The benefits extend far beyond freeing up your time. Kids who learn to prepare food develop confidence, responsibility, and healthy eating habits that last a lifetime. Plus, they’re significantly more likely to eat something they made themselves.
This guide breaks down 20 after-school snacks by skill level, so whether your child is 5 or 12, there’s something they can make independently—with your initial guidance, of course.
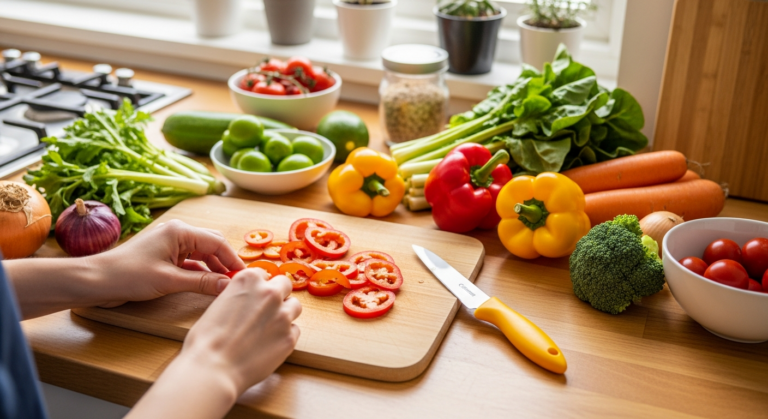
Setting Up for Snack Success
Before diving into recipes, let’s create an environment where kids can succeed.
The Accessible Snack Station
Designate a kid-accessible area in your kitchen with:
- A low drawer or shelf with approved snack ingredients
- Kid-safe utensils (butter knives, kid scissors, small bowls)
- Step stool if needed to reach counters safely
- Clear containers labeled with pictures for younger kids
- A designated “snack prep” space they can use independently
The Snack Rules
Establish clear guidelines:
- Wash hands first—every time
- One snack after school (no grazing all afternoon)
- Clean up your mess
- Ask before using sharp tools or appliances (based on age/skill)
- Healthy choice first, then treat (if you allow this)
Safety Considerations by Age
Ages 5-6: No heat, no sharp knives. Focus on assembly, pouring, and spreading.
Ages 7-8: Can use microwave with supervision, butter knives, and simple cutting with kid-safe knives.
Ages 9-10: Can use toaster independently, basic knife skills with supervision, short microwave times.
Ages 11-12: Most kitchen tasks with previous training, basic stovetop with supervision.
Level 1: No-Cook, No-Sharp-Tools (Ages 5+)
These snacks require only assembly, spreading, and pouring. Perfect for the youngest independent snackers.
1. Ants on a Log
What they need:
- Celery sticks (pre-cut by you)
- Peanut butter or sunflower seed butter
- Raisins
What they do:
- Spread nut butter in the celery “log”
- Line up raisin “ants” on top
Skills learned: Spreading, fine motor control, following steps
Variations: Try cream cheese instead of nut butter, use dried cranberries instead of raisins
2. Yogurt Parfait
What they need:
- Yogurt cup or container of yogurt
- Granola in accessible container
- Berries (fresh or thawed frozen)
What they do:
- Spoon yogurt into cup or bowl
- Add layer of granola
- Top with berries
Skills learned: Layering, portion awareness, presentation
Pro tip: Pre-portion granola into small containers so they don’t pour half the bag.
3. Apple Nachos
What they need:
- Pre-sliced apples
- Nut butter (in squeeze bottle or pre-portioned)
- Toppings: mini chocolate chips, granola, shredded coconut
What they do:
- Arrange apple slices on plate
- Drizzle with nut butter
- Sprinkle toppings
Skills learned: Drizzling, sprinkling, creativity with toppings
4. Trail Mix Creation Station
What they need:
- Small containers of approved ingredients (cereal, pretzels, dried fruit, chocolate chips, nuts if allowed)
- Measuring cups or scoops
- Baggie or container for their mix
What they do:
- Scoop one portion of each chosen ingredient
- Combine in bag or container
- Shake to mix
Skills learned: Measuring, decision-making, portion control
Make it special: Let them name their creation and save the “recipe”
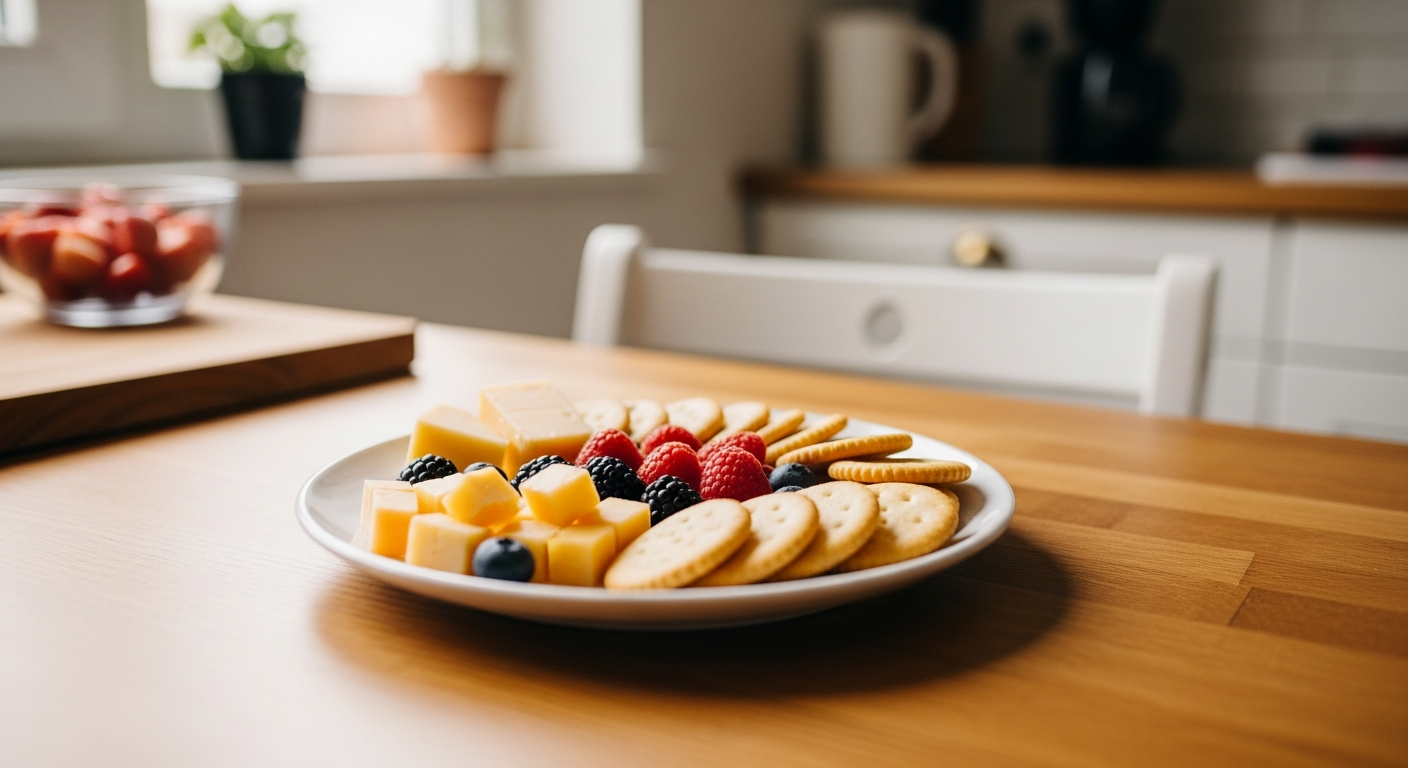
5. Cheese and Cracker Stacks
What they need:
- Crackers
- Pre-sliced cheese
- Optional: deli meat, cucumber slices
What they do:
- Stack crackers with cheese between
- Add additional layers if desired
Skills learned: Assembly, stacking, sandwich-building basics
Level 2: Simple Spreading & Basic Tools (Ages 7+)
These snacks introduce butter knives and simple assembly with slightly more complexity.
6. Pinwheel Roll-Ups
What they need:
- Flour tortilla
- Cream cheese or hummus
- Deli meat or sliced cheese
- Butter knife
What they do:
- Spread cream cheese or hummus over entire tortilla
- Layer meat or cheese on top
- Roll up tightly
- Cut into pinwheels with butter knife (or leave whole)
Skills learned: Spreading evenly, rolling, optional cutting
7. Banana Sushi
What they need:
- Tortilla or flatbread
- Nut butter
- Banana
- Butter knife
What they do:
- Spread nut butter over tortilla
- Place banana at edge
- Roll tortilla around banana tightly
- Slice into “sushi” rounds
Skills learned: Spreading, rolling, cutting with butter knife
Variations: Add honey drizzle, cinnamon, or mini chocolate chips before rolling
8. Loaded Rice Cakes
What they need:
- Rice cakes
- Topping options: nut butter, cream cheese, avocado (pre-mashed)
- Additional toppings: banana slices, berries, everything bagel seasoning
What they do:
- Choose a spread and apply to rice cake
- Add toppings
- Sprinkle with seasoning if desired
Skills learned: Spreading on fragile surfaces (teaches gentle pressure), topping decisions
9. Caprese Skewers
What they need:
- Cherry tomatoes
- Small mozzarella balls (ciliegine)
- Fresh basil leaves
- Toothpicks or small skewers
What they do:
- Thread tomato onto skewer
- Add basil leaf
- Add mozzarella ball
- Repeat pattern
Skills learned: Skewer safety, pattern recognition, fine motor skills
10. Frozen Banana Pops
What they need:
- Banana (cut in half)
- Popsicle sticks
- Yogurt (in bowl for dipping)
- Toppings: sprinkles, crushed cereal, mini chocolate chips
What they do:
- Insert stick into banana half
- Dip in yogurt to coat
- Roll in toppings
- Place on wax paper on plate, freeze
Skills learned: Dipping, coating, patience (waiting for frozen result!)
Level 3: Microwave & Toaster Skills (Ages 9+)
These snacks introduce heat safely with appliances most kids can learn to use responsibly.
11. Quesadilla
What they need:
- Tortilla
- Shredded cheese
- Optional fillings: beans, leftover chicken, vegetables
- Microwave-safe plate
What they do:
- Place tortilla on plate
- Add cheese and fillings to one half
- Fold tortilla in half
- Microwave 45 seconds to 1 minute
- Let cool before eating
Skills learned: Microwave timing, folding, heat awareness
Upgrade: Once comfortable, teach stovetop method for crispier results
12. English Muffin Pizza
What they need:
- English muffin (pre-split)
- Pizza sauce or marinara
- Shredded mozzarella
- Desired toppings
What they do:
- Toast English muffin halves
- Spread sauce on each half
- Add cheese and toppings
- Microwave 30-45 seconds until cheese melts
Skills learned: Toaster use, assembly while hot (carefully!), melting cheese
Pro tip: Make a “pizza toppings” container with pre-chopped options
13. Mug Cake
What they need:
- 4 tablespoons flour
- 2 tablespoons sugar
- 2 tablespoons cocoa powder
- 3 tablespoons milk
- 2 tablespoons vegetable oil
- Microwave-safe mug
What they do:
- Add all dry ingredients to mug, stir
- Add wet ingredients, stir until smooth
- Microwave 60-90 seconds
- Let cool 2 minutes before eating
Skills learned: Measuring, mixing, microwave timing, patience for cooling
14. Cinnamon Toast
What they need:
- Bread
- Butter (softened)
- Cinnamon sugar (pre-mixed in shaker)
- Toaster
What they do:
- Toast bread
- Spread butter while warm
- Shake cinnamon sugar over top
Skills learned: Toaster independence, spreading on hot surface, shaking evenly
15. Nachos
What they need:
- Tortilla chips
- Shredded cheese
- Optional: canned beans (drained), salsa, sour cream
- Microwave-safe plate
What they do:
- Spread chips on plate in single layer
- Top with cheese (and beans if using)
- Microwave 30-45 seconds until cheese melts
- Add cold toppings after heating
Skills learned: Arranging food, microwave timing, topping sequence
Level 4: Basic Cutting & Prep (Ages 10+)
These snacks introduce knife skills with supervision. Always assess your individual child’s readiness.
16. Fresh Spring Rolls
What they need:
- Rice paper wrappers
- Pre-sliced vegetables (or cut their own: cucumber, carrots, bell peppers)
- Rice noodles (pre-cooked)
- Optional: shrimp or tofu
- Bowl of warm water
What they do:
- Dip rice paper in warm water until pliable
- Lay flat on cutting board
- Add fillings in center
- Fold sides in, roll up tightly
Skills learned: Working with delicate ingredients, rolling technique, cutting vegetables
17. Veggie Cups with Homemade Dip
What they need:
- Vegetables (carrots, celery, cucumber, bell peppers)
- Cutting board and kid-safe knife
- Ranch packet + Greek yogurt OR hummus
What they do:
- Wash vegetables
- Cut into sticks or rounds
- If making dip: mix ranch packet with yogurt
- Arrange vegetables around dip
Skills learned: Vegetable washing, safe cutting techniques, dip preparation
18. Bruschetta
What they need:
- Baguette (pre-sliced or they can slice)
- Tomatoes
- Fresh basil
- Olive oil
- Garlic salt
What they do:
- Toast bread slices
- Dice tomatoes, tear basil
- Mix tomatoes, basil, drizzle of olive oil, pinch of garlic salt
- Spoon mixture onto toasted bread
Skills learned: Dicing technique, mixing flavors, assembly
19. Smoothie
What they need:
- Frozen fruit
- Yogurt or milk
- Optional: honey, nut butter, spinach
- Blender
What they do:
- Add frozen fruit to blender
- Add yogurt/milk
- Add any extras
- Blend until smooth
- Pour into glass
Skills learned: Blender operation and safety, ratio awareness, experimentation
Safety note: Teach blender safety thoroughly—lid secure, never reaching in while plugged in
20. Avocado Toast
What they need:
- Bread
- Ripe avocado
- Butter knife
- Salt, pepper, optional toppings
What they do:
- Toast bread
- Cut avocado in half, remove pit (teach safe technique)
- Scoop avocado onto toast
- Mash with fork, spread evenly
- Season and add toppings
Skills learned: Avocado handling (pit removal is a key skill), mashing, seasoning
Building Skills Over Time
The Progression Path
Month 1: Master 2-3 Level 1 snacks until completely independent
Month 2: Introduce Level 2 skills while maintaining Level 1 independence
Month 3: Begin Level 3 with close supervision
Month 4+: Gradual independence in Level 3, introduce Level 4 with supervision
Teaching New Snacks: The Method
- I do, you watch: Make the snack while they observe
- I do, you help: Make it together with them assisting
- You do, I help: They lead while you assist as needed
- You do, I watch: They make it independently while you supervise
- You do: Full independence
Creating a Snack Menu
Post a visual menu of approved snacks your child can make. Include:
- Picture of finished snack
- Skill level indicator
- Where to find ingredients
- Any rules (like “ask before using microwave”)
This empowers choice while maintaining boundaries.
Troubleshooting Common Issues
“The mess is worse than just making it myself”
- Accept that learning is messy
- Make cleanup part of the process (no eating until cleaned up)
- Simplify: use fewer ingredients/tools initially
- Designate a specific prep area that’s easy to wipe
“They just want junk food”
- Stock your kid-accessible area with only approved options
- Offer choices: “You can make trail mix OR yogurt parfait”
- Include one “fun” element in healthy snacks (chocolate chips in trail mix)
- Model healthy snacking yourself
“They get frustrated and give up”
- Start simpler than you think necessary
- Celebrate effort, not perfection
- Stay nearby for encouragement (not hovering)
- Let imperfect results be eaten anyway—builds resilience
“They make the same thing every day”
- Introduce one new option per week
- Create a “try something new Tuesday” tradition
- Make it a game: snack bingo, trying all 20 recipes
- Let them choose new recipes to learn
Mama Munch
Mama Munch is a food-obsessed parent of two who believes every family deserves simple, nutritious meals — even on the busiest weeknights. With a background in nutrition education and years of navigating picky eaters, allergies, and toddler taste buds, she creates practical recipes and meal strategies that actually work for real families.
Frequently Asked Questions
At what age can kids start making their own snacks?
Most children can begin with simple assembly snacks (Level 1) around age 5-6. The key is matching tasks to their developmental readiness and providing appropriate supervision.
How do I handle food allergies when giving kids independence?
Create a clearly labeled “safe” snack station. Teach them to recognize allergen ingredients. For young children, only stock allergy-safe options in their accessible area.
What if my child only wants to make unhealthy snacks?
Control what’s available, not what they choose. If only nutritious options are in the kid-accessible area, all choices become good ones.
How do I teach knife safety?
Start with butter knives and soft foods. Graduate to kid-safe knives with firm supervision. Teach the claw grip (fingers curled under) and cutting away from the body. Never rush knife skill development.
My child wants to use the stove. When is this appropriate?
Stovetop cooking typically isn’t appropriate until ages 10-12, and should always begin with direct supervision. Start with simple tasks like stirring or flipping, not managing heat levels.
How do I make time for teaching when afternoons are so busy?
Dedicate one weekend session to teaching a new snack. Use the gradual release method. Initial time investment pays off with long-term independence.
What if snacks spoil their dinner appetite?
Set a snack time (like 3:30 PM) that allows enough time before dinner. Establish portion expectations. If dinner appetite is consistently affected, reduce snack size or offer only vegetables.
Should I worry about food waste from mistakes?
Some waste is part of learning. Minimize by starting with small portions during the learning phase. Imperfect results can usually still be eaten.
Raising Capable Kids, One Snack at a Time
Teaching your children to prepare their own snacks is about so much more than convenience (though that’s a definite perk). It’s about building:
- Confidence: “I can do this myself!”
- Responsibility: Cleanup is part of the process
- Independence: Problem-solving when something doesn’t go right
- Life skills: Cooking abilities that last a lifetime
- Healthy habits: Understanding what goes into their food
Start with one snack from this list. Master it together. Then gradually expand. Before you know it, that 3:30 PM “I’M STARVING” declaration will be followed by the sound of your capable child making their own snack—and maybe even offering to make one for you.
That’s not just snack time. That’s parenting success.
—