Easy Homemade Baby Food Recipes: Stage 1-3 Complete Guide
Discover how simple it is to make your own baby food, saving money and controlling ingredients. This guide provides easy recipes and tips for creating purees from first solids to thicker textures for your baby.
- You don't need special equipment or culinary skills to make nutritious baby food.
- Ensure your baby gets fresh, preservative-free food with customizable textures.
- Introduce single-ingredient, very thin purees like sweet potato or avocado at 4-6 months.
- Progress to slightly thicker purees with more texture as your baby develops at 6-8 months.
- Utilize your blender, ice cube trays, and a fine mesh strainer for easy preparation.
When my first baby was ready for solids, I was intimidated by the idea of making baby food from scratch. All those tiny jars at the store seemed so much easier. But once I actually tried homemade baby food, I realized how simple it could be—and how much better it tasted.
Making your own baby food doesn’t require special equipment, culinary skills, or hours in the kitchen. If you can steam a vegetable and push a button on a blender, you can make baby food. Plus, you’ll save money, reduce waste, and know exactly what’s in every bite your baby eats.
This guide walks you through everything from first purees to chunky textures, with recipes for each stage.
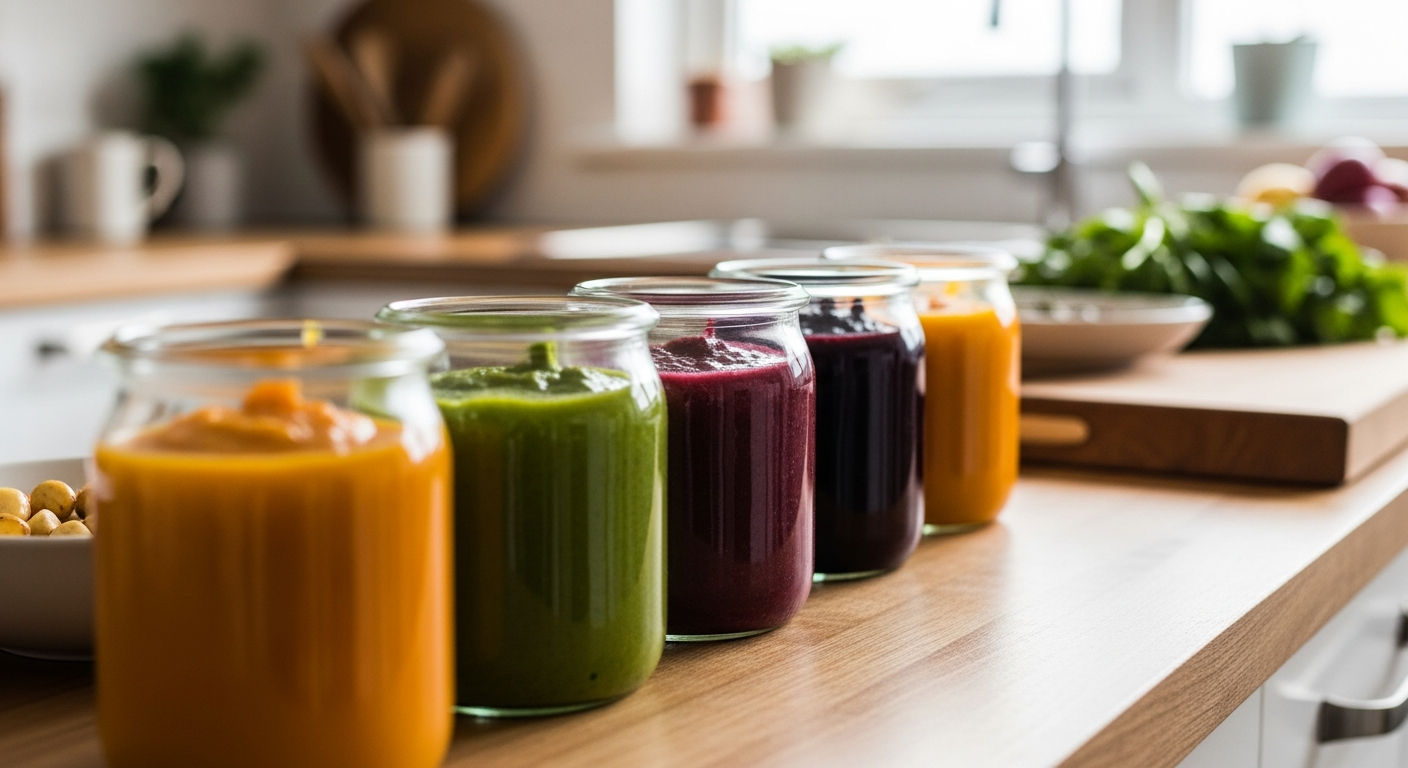
[IMAGE: Colorful baby food purees in ice cube trays]
Why Make Homemade Baby Food?
Store-bought baby food is convenient and perfectly fine to use. But homemade has some real advantages:
Fresher taste: Homemade purees taste like actual food, not the processed version. Babies who eat fresher-tasting food may transition to table foods more easily.
Better variety: You’re not limited to what’s on store shelves. Want to make a pear-spinach-ginger puree? Go for it.
More economical: The same sweet potato that makes one small jar of baby food at the store can make a week’s worth of homemade portions.
Less waste: No single-use jars or pouches. Freeze in reusable containers.
You control ingredients: No added sugars, preservatives, or ingredients you can’t pronounce.
Customizable textures: You can adjust the consistency exactly as your baby develops.
That said, there’s nothing wrong with using store-bought food when you need convenience. A combination of both works great for most families.
Equipment You Actually Need
You don’t need expensive baby food makers. Here’s what works:
Essential:
- Blender or food processor (one you probably already have)
- Fine mesh strainer (for extra-smooth purees)
- Ice cube trays for freezing portions
- Small containers with lids
- Basic cooking equipment (pots, steamer basket or microwave-safe bowl)
Helpful but optional:
- Immersion blender (great for soups and small batches)
- Baby food storage containers
- Silicone ice cube trays with lids (easier to pop out frozen cubes)
Skip the dedicated baby food makers—a regular blender does the same job and you’ll use it for years after the baby food stage.
The Ultimate Guide to Baby-Led Weaning: First Foods & Safety Tips
Stage 1: First Purees (4-6 Months)
Stage 1 is all about introduction. These purees should be completely smooth, almost watery, with no chunks whatsoever. Your baby is learning to move food from the front of their mouth to the back and swallow—a brand new skill.
Consistency: Very thin, runs off a spoon easily, no texture
Typical first foods:
- Single-ingredient purees only
- Mild flavors
- Iron-fortified infant cereal mixed with breast milk or formula
Stage 1 Recipes
Sweet Potato Puree
- Peel and cube 1 medium sweet potato
- Steam until very soft (about 15 minutes)
- Blend with cooking water or breast milk/formula until smooth
- Strain through fine mesh if any lumps remain
Yield: About 8-10 portions
Avocado Puree
- Cut a ripe avocado in half, remove pit
- Scoop flesh into blender
- Add breast milk or formula to thin
- Blend until completely smooth
Note: Avocado browns quickly—make fresh or add a tiny bit of lemon juice
Pea Puree
- Steam 1 cup frozen peas until soft
- Blend with cooking liquid
- Strain through fine mesh to remove skins
The straining is key—pea skins can be tough for beginners
Banana Puree
- Mash a very ripe banana with a fork
- Add breast milk or formula to thin
- Mash or blend until smooth
Tip: The riper the banana, the sweeter and easier to digest
Butternut Squash Puree
- Cut butternut squash in half, remove seeds
- Roast cut-side down at 400°F until very soft (45 minutes)
- Scoop flesh and blend with water or milk
- Strain for smoothest texture
[IMAGE: Baby in high chair eating first purees with messy face]
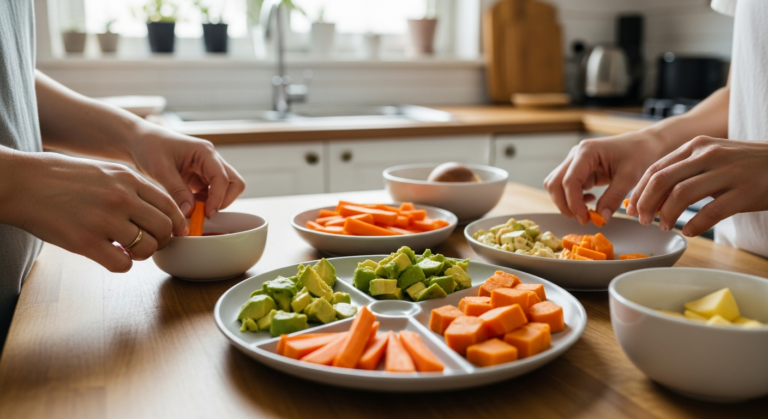
Stage 2: Thicker Purees (6-8 Months)
By stage 2, your baby has mastered thin purees and is ready for more texture and flavor variety. You can also start combining ingredients.
Consistency: Thicker, can hold shape on spoon, still very smooth
New foods to try:
- Combination purees (mixing two or more foods)
- Proteins: chicken, turkey, beef, fish, lentils, beans
- More vegetables and fruits
- Whole-fat plain yogurt
- Soft cheeses
Stage 2 Recipes
Apple Cinnamon Puree
- Peel, core, and dice 3 apples
- Steam until very soft
- Blend with a tiny pinch of cinnamon
- Add water to reach desired consistency
Yield: About 12-15 portions
Chicken and Sweet Potato
- Poach 1 chicken breast in unsalted water until cooked through
- Steam 1 cubed sweet potato until soft
- Blend chicken and sweet potato together with cooking liquid
- Add liquid until smooth but thicker than stage 1
Spinach Pear Puree
- Steam 1 cup fresh spinach until wilted
- Steam 2 peeled, chopped pears until soft
- Blend together until smooth
- The pear sweetness balances the spinach
Lentil Vegetable Puree
- Cook 1/2 cup red lentils according to package (they get very soft)
- Steam diced carrots and zucchini
- Blend everything together with cooking liquid
- Red lentils blend smoothest; great protein source
Tropical Fruit Blend
- Combine chunks of ripe mango, banana, and papaya
- Blend until smooth
- No cooking needed if fruit is ripe enough
Introducing Allergens to Baby: A Safe Step-by-Step Guide
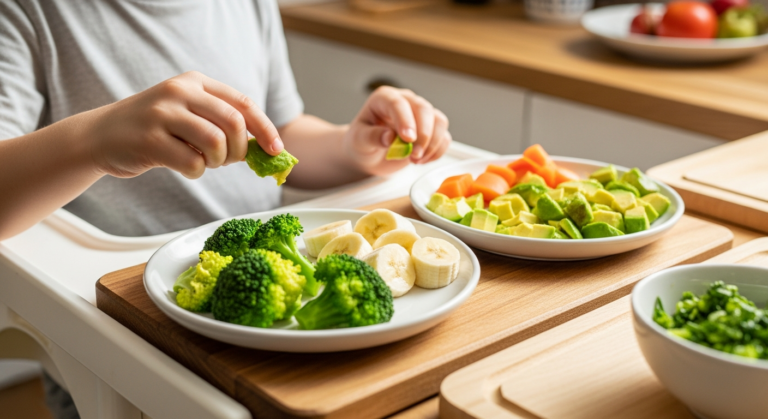
Stage 3: Chunky Textures (8-10+ Months)
Stage 3 introduces more texture to prepare for table foods. Your baby should be sitting well and showing chewing motions, even without teeth.
Consistency: Mashed with soft chunks, thicker texture, some pieces visible
New additions:
- More herbs and spices
- Finger foods alongside purees
- More complex combinations
- Pasta and grains
Stage 3 Recipes
Mashed Banana Blueberry
- Mash 1 ripe banana with a fork (don’t blend)
- Lightly mash 1/4 cup blueberries
- Mix together, leaving some chunks
Chicken Vegetable Mash
- Finely dice cooked chicken
- Mash cooked peas and carrots
- Mix together with a splash of low-sodium chicken broth
- Leave some small soft chunks
Pasta with Marinara
- Cook small pasta (ditalini or orzo) until very soft
- Mix with mild marinara sauce
- Mash slightly to break up any large pieces
- Add a sprinkle of finely grated parmesan
Beef and Potato Mash
- Cook ground beef, drain fat
- Mash soft-cooked potatoes
- Mix together with cooking liquid
- Finely chop or blend beef if baby isn’t ready for chunks
Veggie Risotto
- Make soft risotto with low-sodium broth
- Stir in finely diced steamed vegetables
- Add parmesan for extra flavor
- Serve at a mushy, spoonable consistency
[IMAGE: Stage 3 chunky baby food in bowl with baby spoon]
How to Store and Freeze Baby Food
Freezing Method
- Pour cooled puree into ice cube trays
- Freeze until solid (several hours or overnight)
- Pop frozen cubes into labeled freezer bags
- Each cube is approximately 1 ounce
Storage Times
- Refrigerator: 2-3 days (fresh purees)
- Freezer: 1-3 months for best quality
Thawing Methods
- Overnight in refrigerator: Safest method
- Warm water bath: Place frozen cubes in sealed bag in warm water
- Microwave: Use low power, stir well, check temperature
Always stir thawed food well and test temperature before serving. Microwaved food can have hot spots.
First Foods Schedule: A Sample Timeline
While every baby is different, here’s a general guide for introduction:
Month 6:
- Week 1: Iron-fortified cereal
- Week 2: Sweet potato or squash
- Week 3: Avocado
- Week 4: Banana or pear
Month 7:
- Continue single foods
- Introduce peas, green beans, carrots
- Try applesauce, peaches
- Begin simple combinations
Month 8:
- Add proteins: chicken, turkey, lentils
- Introduce yogurt
- Start allergen introduction (eggs, peanut)
- Offer more combinations
Month 9-10:
- Thicker textures with soft lumps
- Finger foods alongside purees
- More variety in proteins
- Family foods modified for baby
By 12 months: Baby should be eating mostly table foods with some purees as needed
Tips for Success
Start with vegetables: If you start with sweet fruits, vegetables may seem less appealing by comparison.
Offer rejected foods again: It can take 10-15 exposures for a baby to accept a new food. Don’t give up after one try.
Don’t add salt or sugar: Babies don’t need either, and their taste preferences are still forming.
Use breast milk or formula to thin: This adds familiar flavor and extra nutrition.
Make food in batches: One batch cooking session can produce weeks of baby food. Freeze in portions and thaw as needed.
Don’t stress about amounts: At first, babies eat teaspoons, not bowls. Milk is still the primary nutrition source until age 1.
FAQ
When should I start solids?
Most babies are ready around 6 months. Look for developmental signs: sitting with support, good head control, showing interest in food, loss of tongue-thrust reflex.
Do I need to introduce foods in a specific order?
No specific order is required. Traditional advice to start with rice cereal has evolved. You can start with vegetables, fruits, or iron-fortified cereals. Just introduce one new food at a time and wait 2-3 days before adding another.
What about food allergies?
Current guidelines recommend introducing common allergens (peanuts, eggs, fish, etc.) early—around 6 months—rather than delaying them. Introduce one at a time and watch for reactions.
How much should my baby eat?
Start with 1-2 tablespoons once a day. Gradually increase to 2-3 meals per day by 8-9 months. Let your baby guide the amounts—when they turn away or close their mouth, they’re done.
Conclusion
Making homemade baby food is simpler than it seems. With basic equipment you already have and simple techniques, you can create nutritious, delicious food that costs a fraction of store-bought jars.
Start with single-ingredient purees, build toward combinations and textures, and before you know it, your baby will be eating what the rest of the family eats. The homemade food stage goes faster than you think—enjoy it!
Toddler Snack Ideas: 40 Healthy Options They Will Actually Eat
—